
Once you flip the power on, with in a few minutes you should see the hydrogen bubbles begin to form on your rusty part and rising off. The process to can take anywhere from a few hours to a few days. You’ll know when it is finished when the bubbles slow down, but you can always cut the power and pull up the part to check. When in doubt leave it in longer, if you take it out too early, the oxide is very difficult to remove.
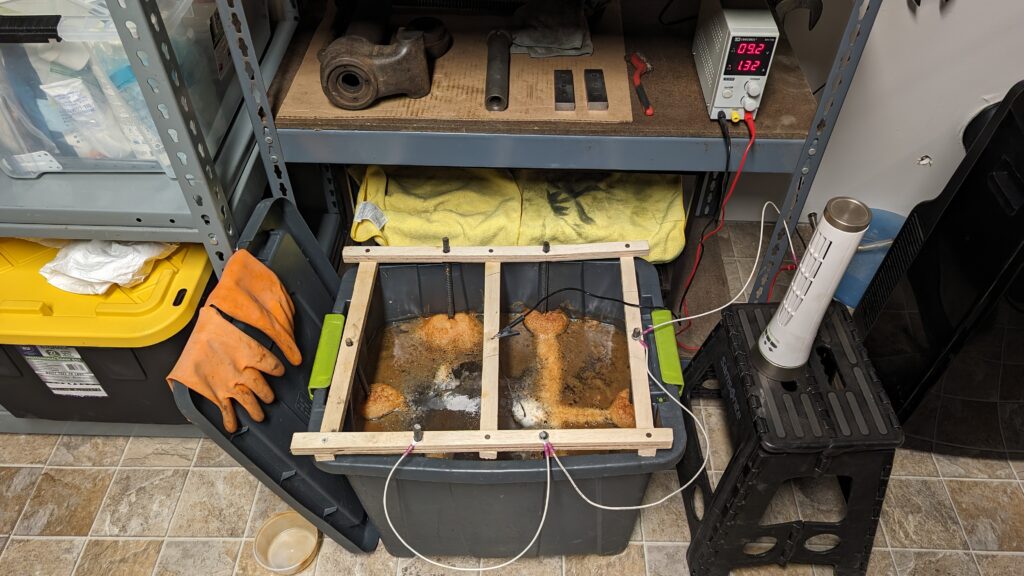
After your rusty part has spent a few hours cooking in the bath, there will be a pretty nasty layer of scum on top of the water, you can periodically scoop this off and throw it on your lawn or any flower beds. Nothing in the water is toxic to plants as long as you’ve used the ingredients that I’ve listed in the prior post.
The water can be reused indefinitely, but it does get pretty gross. The rebar will need to get pulled out and scrubbed down with a wire brush every few parts you clean to remove the built up rust. If you used a DC power supply in fixed current mode, you’ll see the voltage slowly increase over time, which is a sign the anode has a heavy coating of non-conducting rust which increases the resistance in the circuit requiring more voltage to maintain the current.

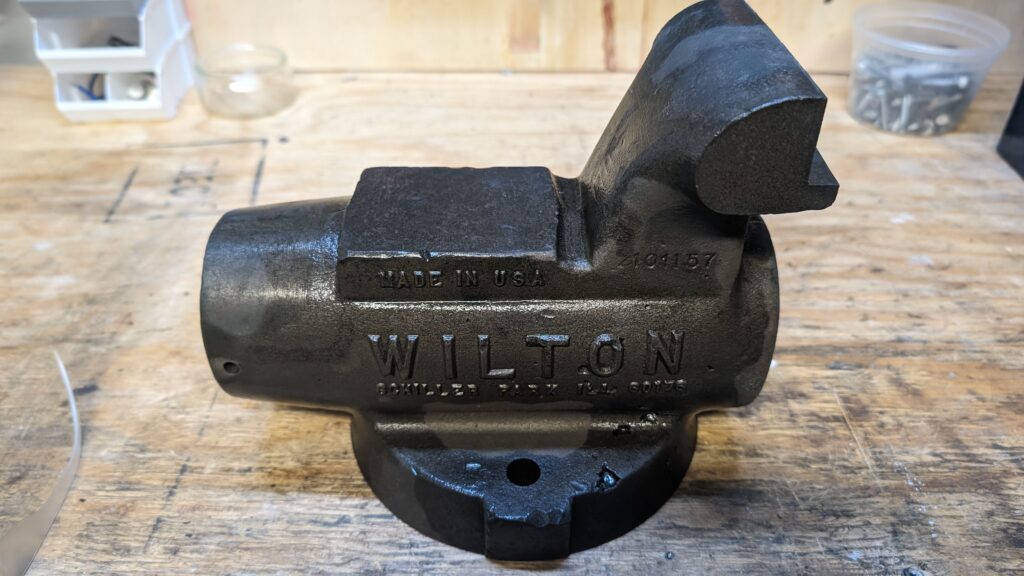
When the part is done cooking and you finally take it out, it will be coated with a black layer of oxide. You will want to be ready to clean this off immediately. If left to cure and dry, it will be very difficult to remove. The good news is its a lot easier and less destructive then trying to remove the rust!

Tips to clean off the oxide:
- Have a pair of heavy duty chemical resistant gloves on hand
- Hit the part with a pressure washer outside if you have one.
- Clean the part under running water while scrubbing with a wire bristle brush. Use brass for delicate parts, but you may need to use steel as the oxide coating can be stubborn.
- I’ve set up my buffer with a Scotch-Brite deburring wheel, and a Scotch-Brite radial bristle brush. The latter is on the pricier side, but it works great, is cleaner, and lasts forever.
- The buffer setup makes for short work of big parts, but there is always good old fashioned elbow grease, finishing pads are a great way to manually clean up a part with lots of hard to reach nooks and crannies.

Tips for protecting your part:
- Once the oxide layer is cleaned off your part is now bare iron and very susceptible to flash rusting. The best thing to do is dry it off quickly using a heat gun, or wiping it down with mineral spirits.
- For a longer term solution, a wipe the part down with boiled linseed oil (aka BLO). It will have your part looking great with a durable coat that prevents it from rusting, or can be painted over.
- Important: BLO soaked rags are highly flammable, store them properly.

Leave a Reply