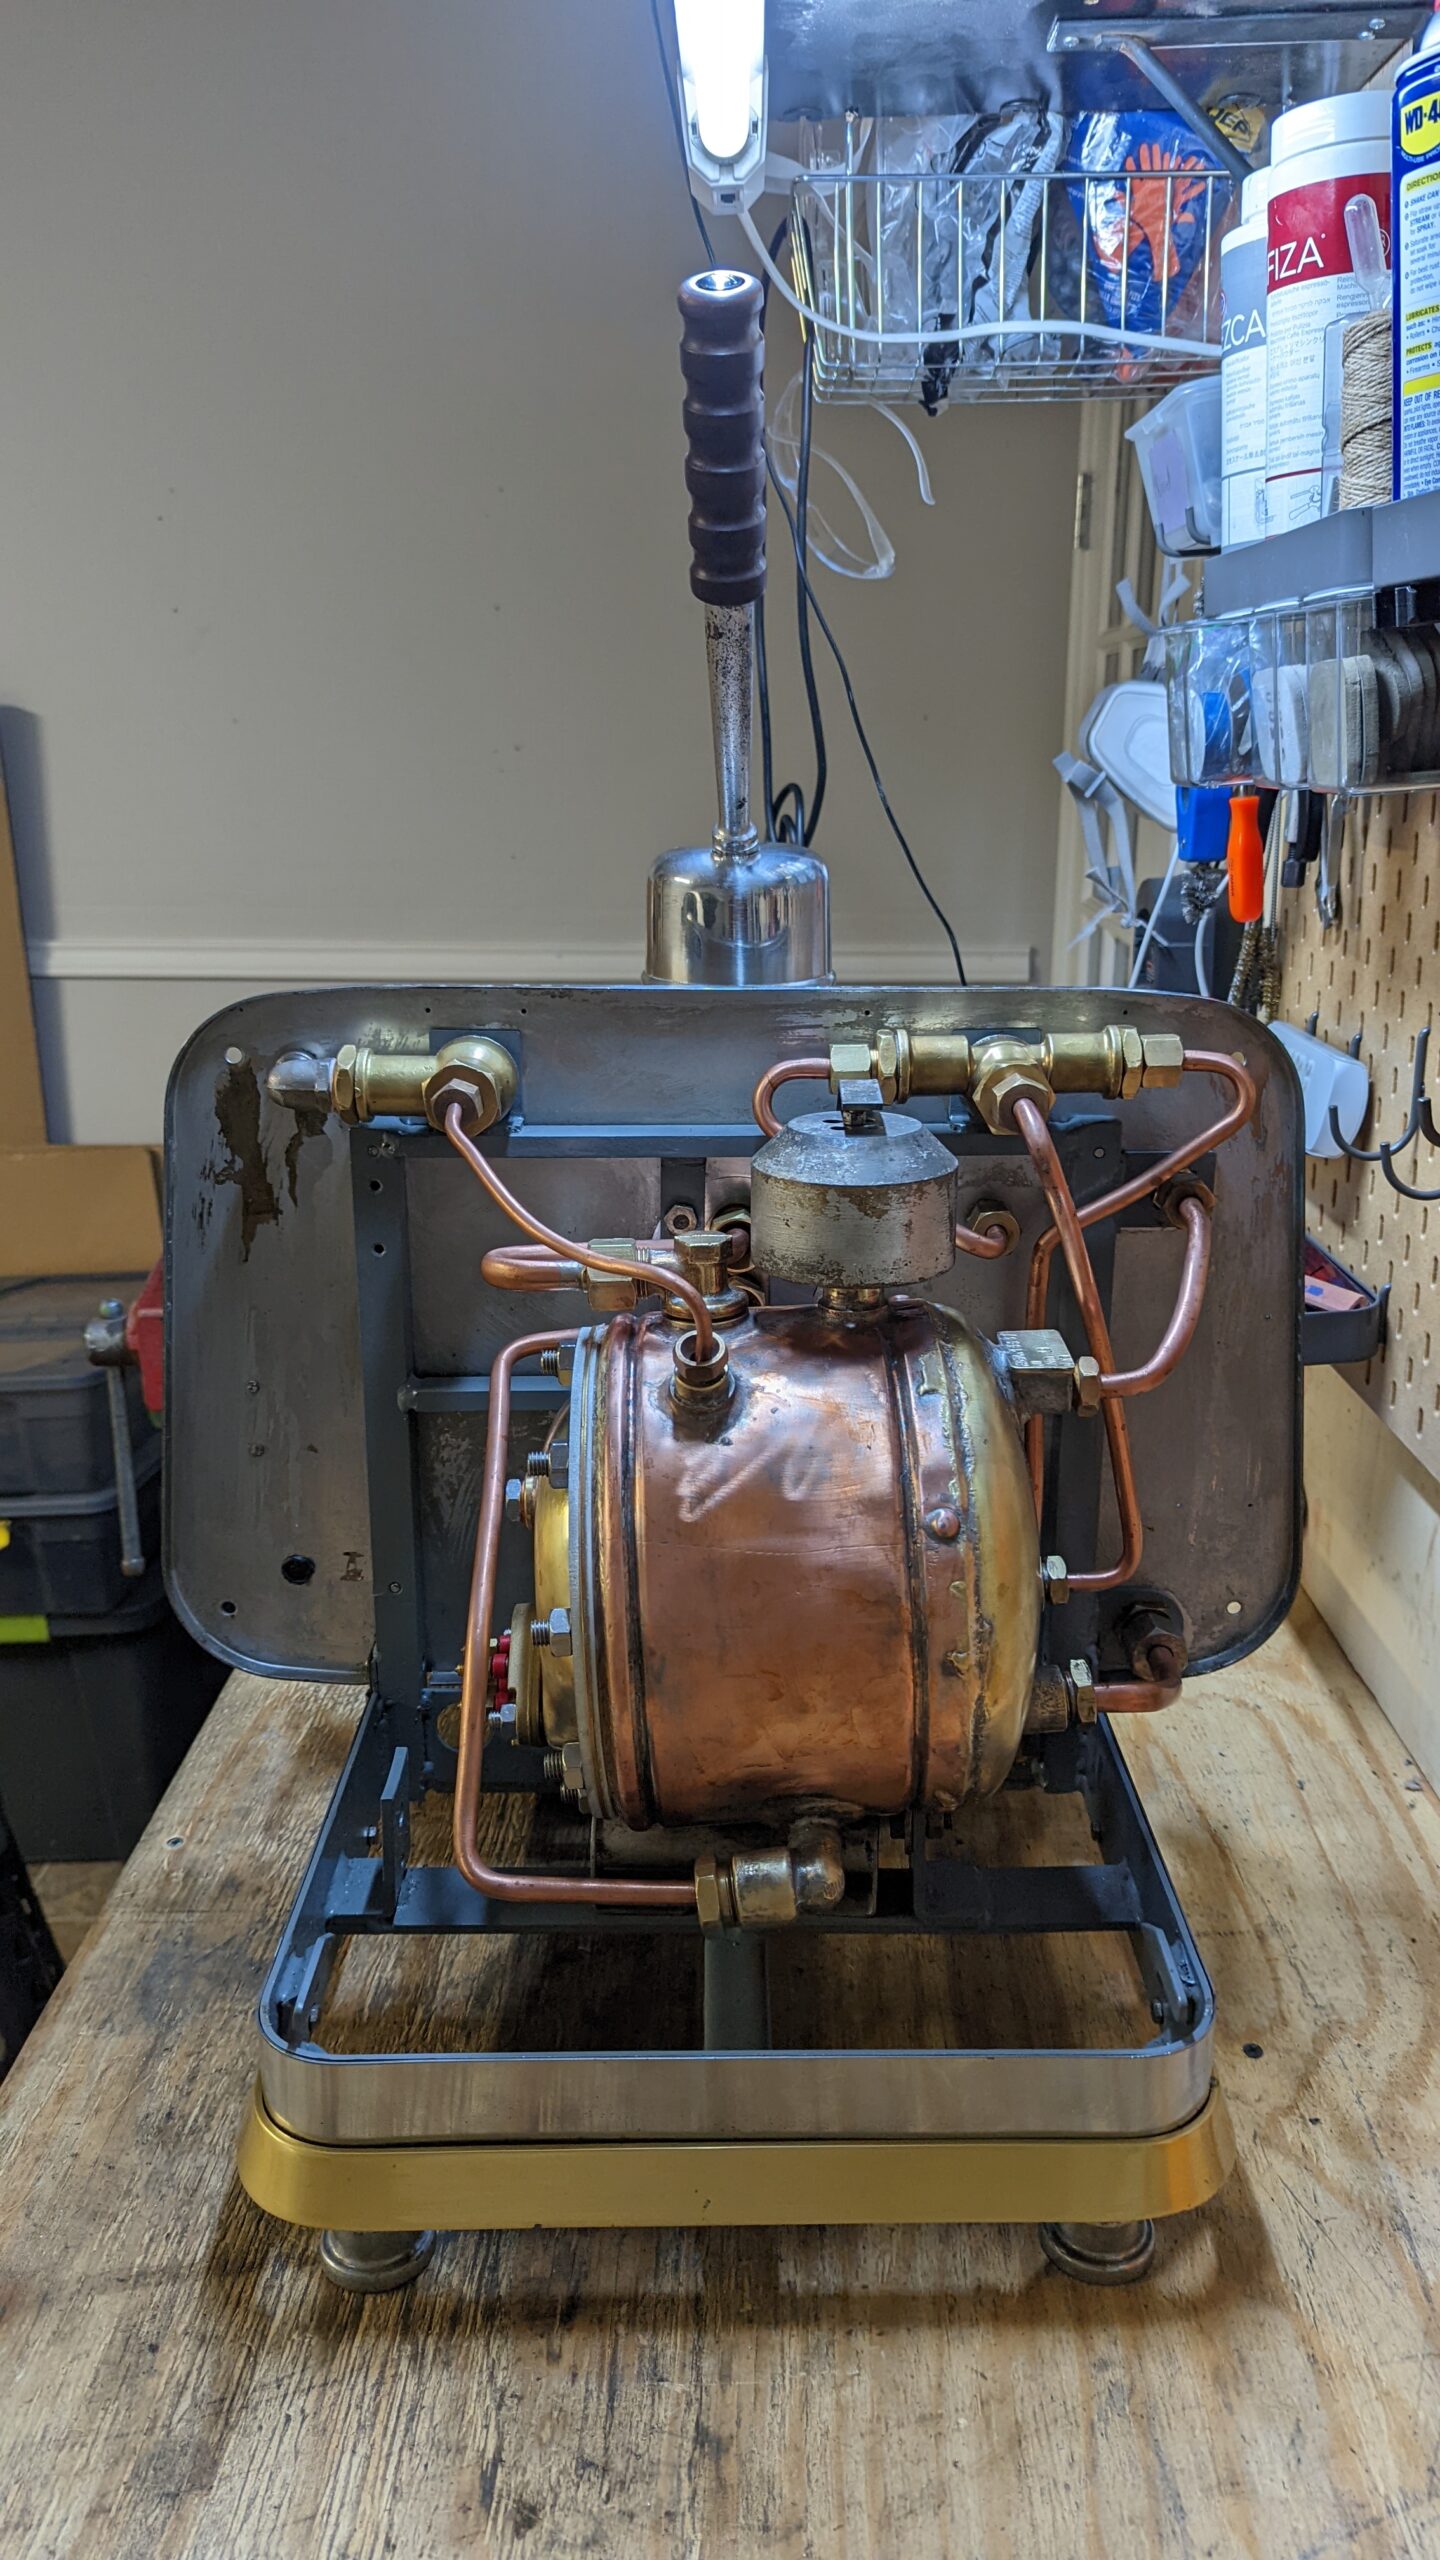
The boiler is usually where one runs into the most challenging parts of a rebuild. Depending on the age, how well the espresso machine was maintained, the quality of the water used, storage, and lots of other factors opening up the boiler is one of the most nerve wracking steps of a rebuild. In many cases slow leaks and poor maintenance over decades will have corroded bolts, seized nuts, and caused all kinds of havoc. When buying the machine, this will be one of the biggest gambles as no photo will be able to show you the full extent of any problems lurking within.

Boiler Prep and Flange Bolts
The first steps were to remove all the pipes and fitting off the boiler. Most fittings came off without too much trouble. The first casualty came when trying to remove the right element nut on the flange – it was pretty rusted and the bolt snapped off.

Working on the flange ring, 5 of the 9 nuts came off without too much trouble, but the remaining 4 didn’t want to budge. I used more force with the socket wrench, and in the end, of the remaining 4 nuts, 2 ended up shearing the bolt. So the final boiler tally: 2 of 9 boiler studs sheared, 1 of 2 element studs sheared.
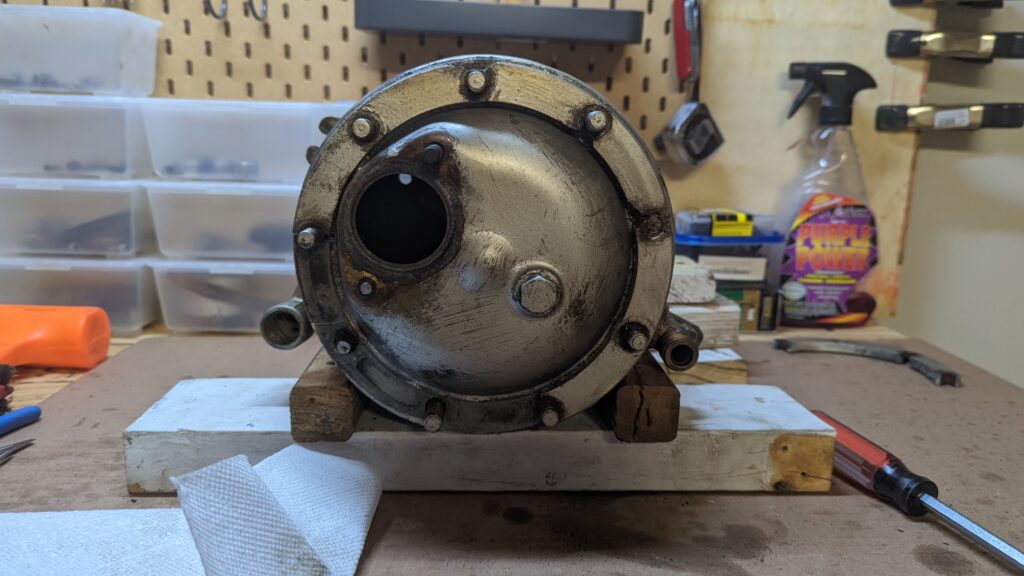
Boiler Flange
Then I needed to get to work on removing the aluminum flange ring. As you can see there’s a fair amount of rust/scale built up around the bolts, so I had to chip away at it bit by bit. I kept applying liquid wrench and picking at the rust around the bolts in the hopes of getting the ring to come off without too much force, but it was fused solidly to the bolts. In the end I decided the best way forward was to use a chisel and hammer to lift it off the flange and break it up, being as careful as possible so as not to warpthe flange. In the end the ring came apart in 8 pieces so I’d need a replacement which was found at Brooks, albeit a bit thinner than the original. With the ring off, a few taps with the chisel on the gasket separated the flange quite easily exposing the original gasket and a little layer of scale.

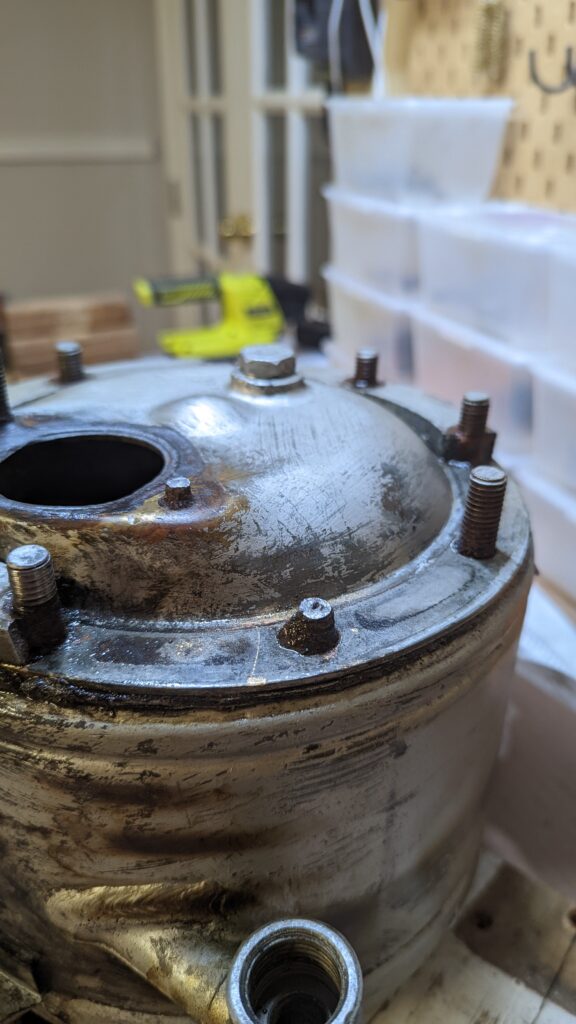


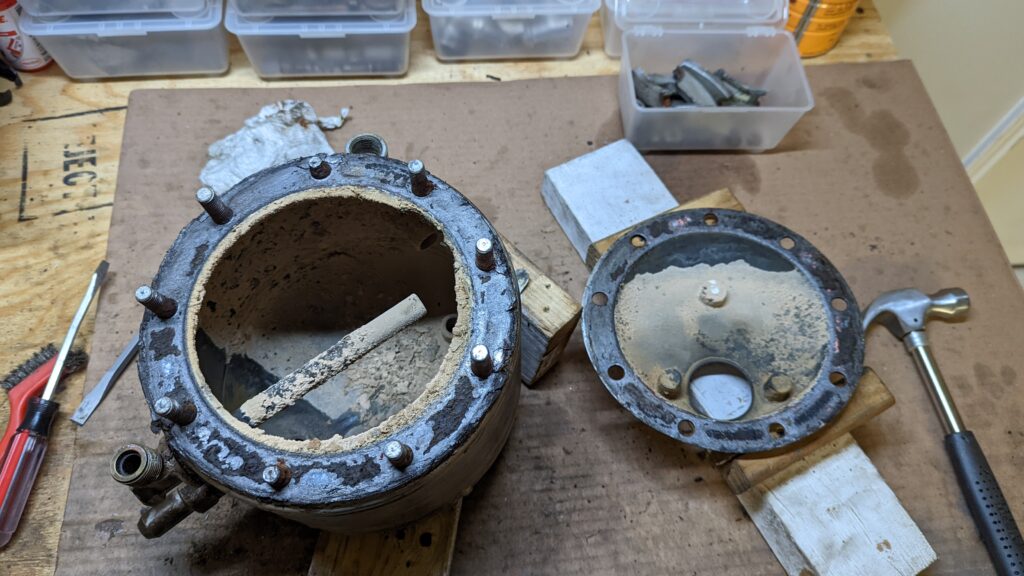
Boiler studs
The studs were pretty rusted and worn, so they all needed to go in order to be replaced. I got the first off by heating it, dousing it with penetrating oil, and using the double nut method to unscrew it. It took almost 30 mins, and there were a few times where I felt it might shear under the torque of the wrench. After the one came out, I had to stop and think, since I knew this approach was going to have a low overall success rate – and take forever. I got an idea to use my impact driver as a makeshift impact wrench with two items: a socket adapter set, and a stud extractor tool.
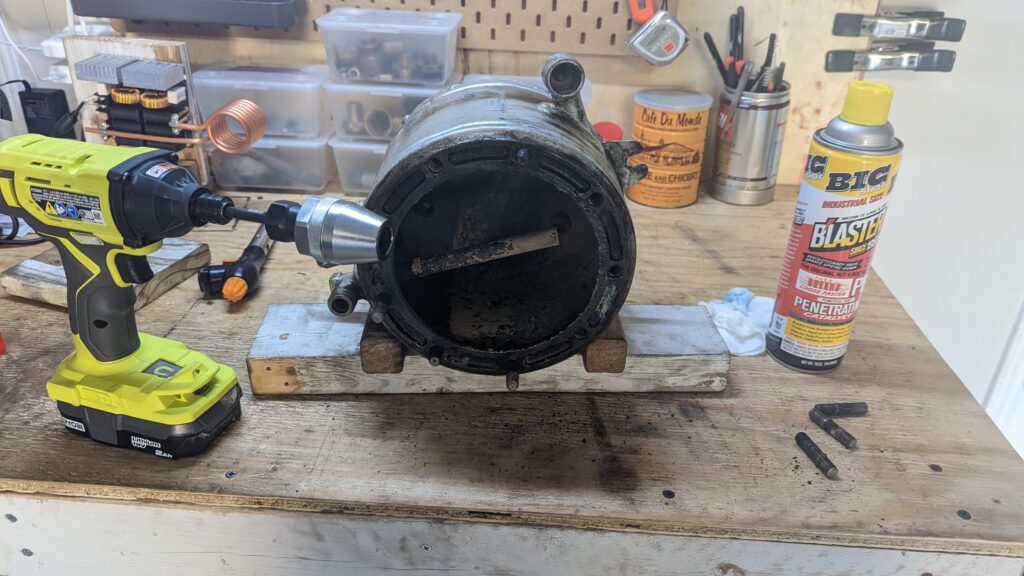
I latched the tool on to the bolts, inserted the socket into the adapter, and about 10 seconds later with the impact driver, the stud was out! The next 7 studs, including one of the sheared ones, also zipped right out. As a bonus I also got the dipper tube out using a 19mm socket in my makeshift impact wrench. This setup has become my goto to get all kinds of stuck nuts and bolts out.
I had to call in the pros to work on the sheared studs that the tool just couldn’t get a good grip on as drilling them out was not a skill I felt comfortable with. A local machinist was able to extract the final two studs for me.
Boiler Descaling
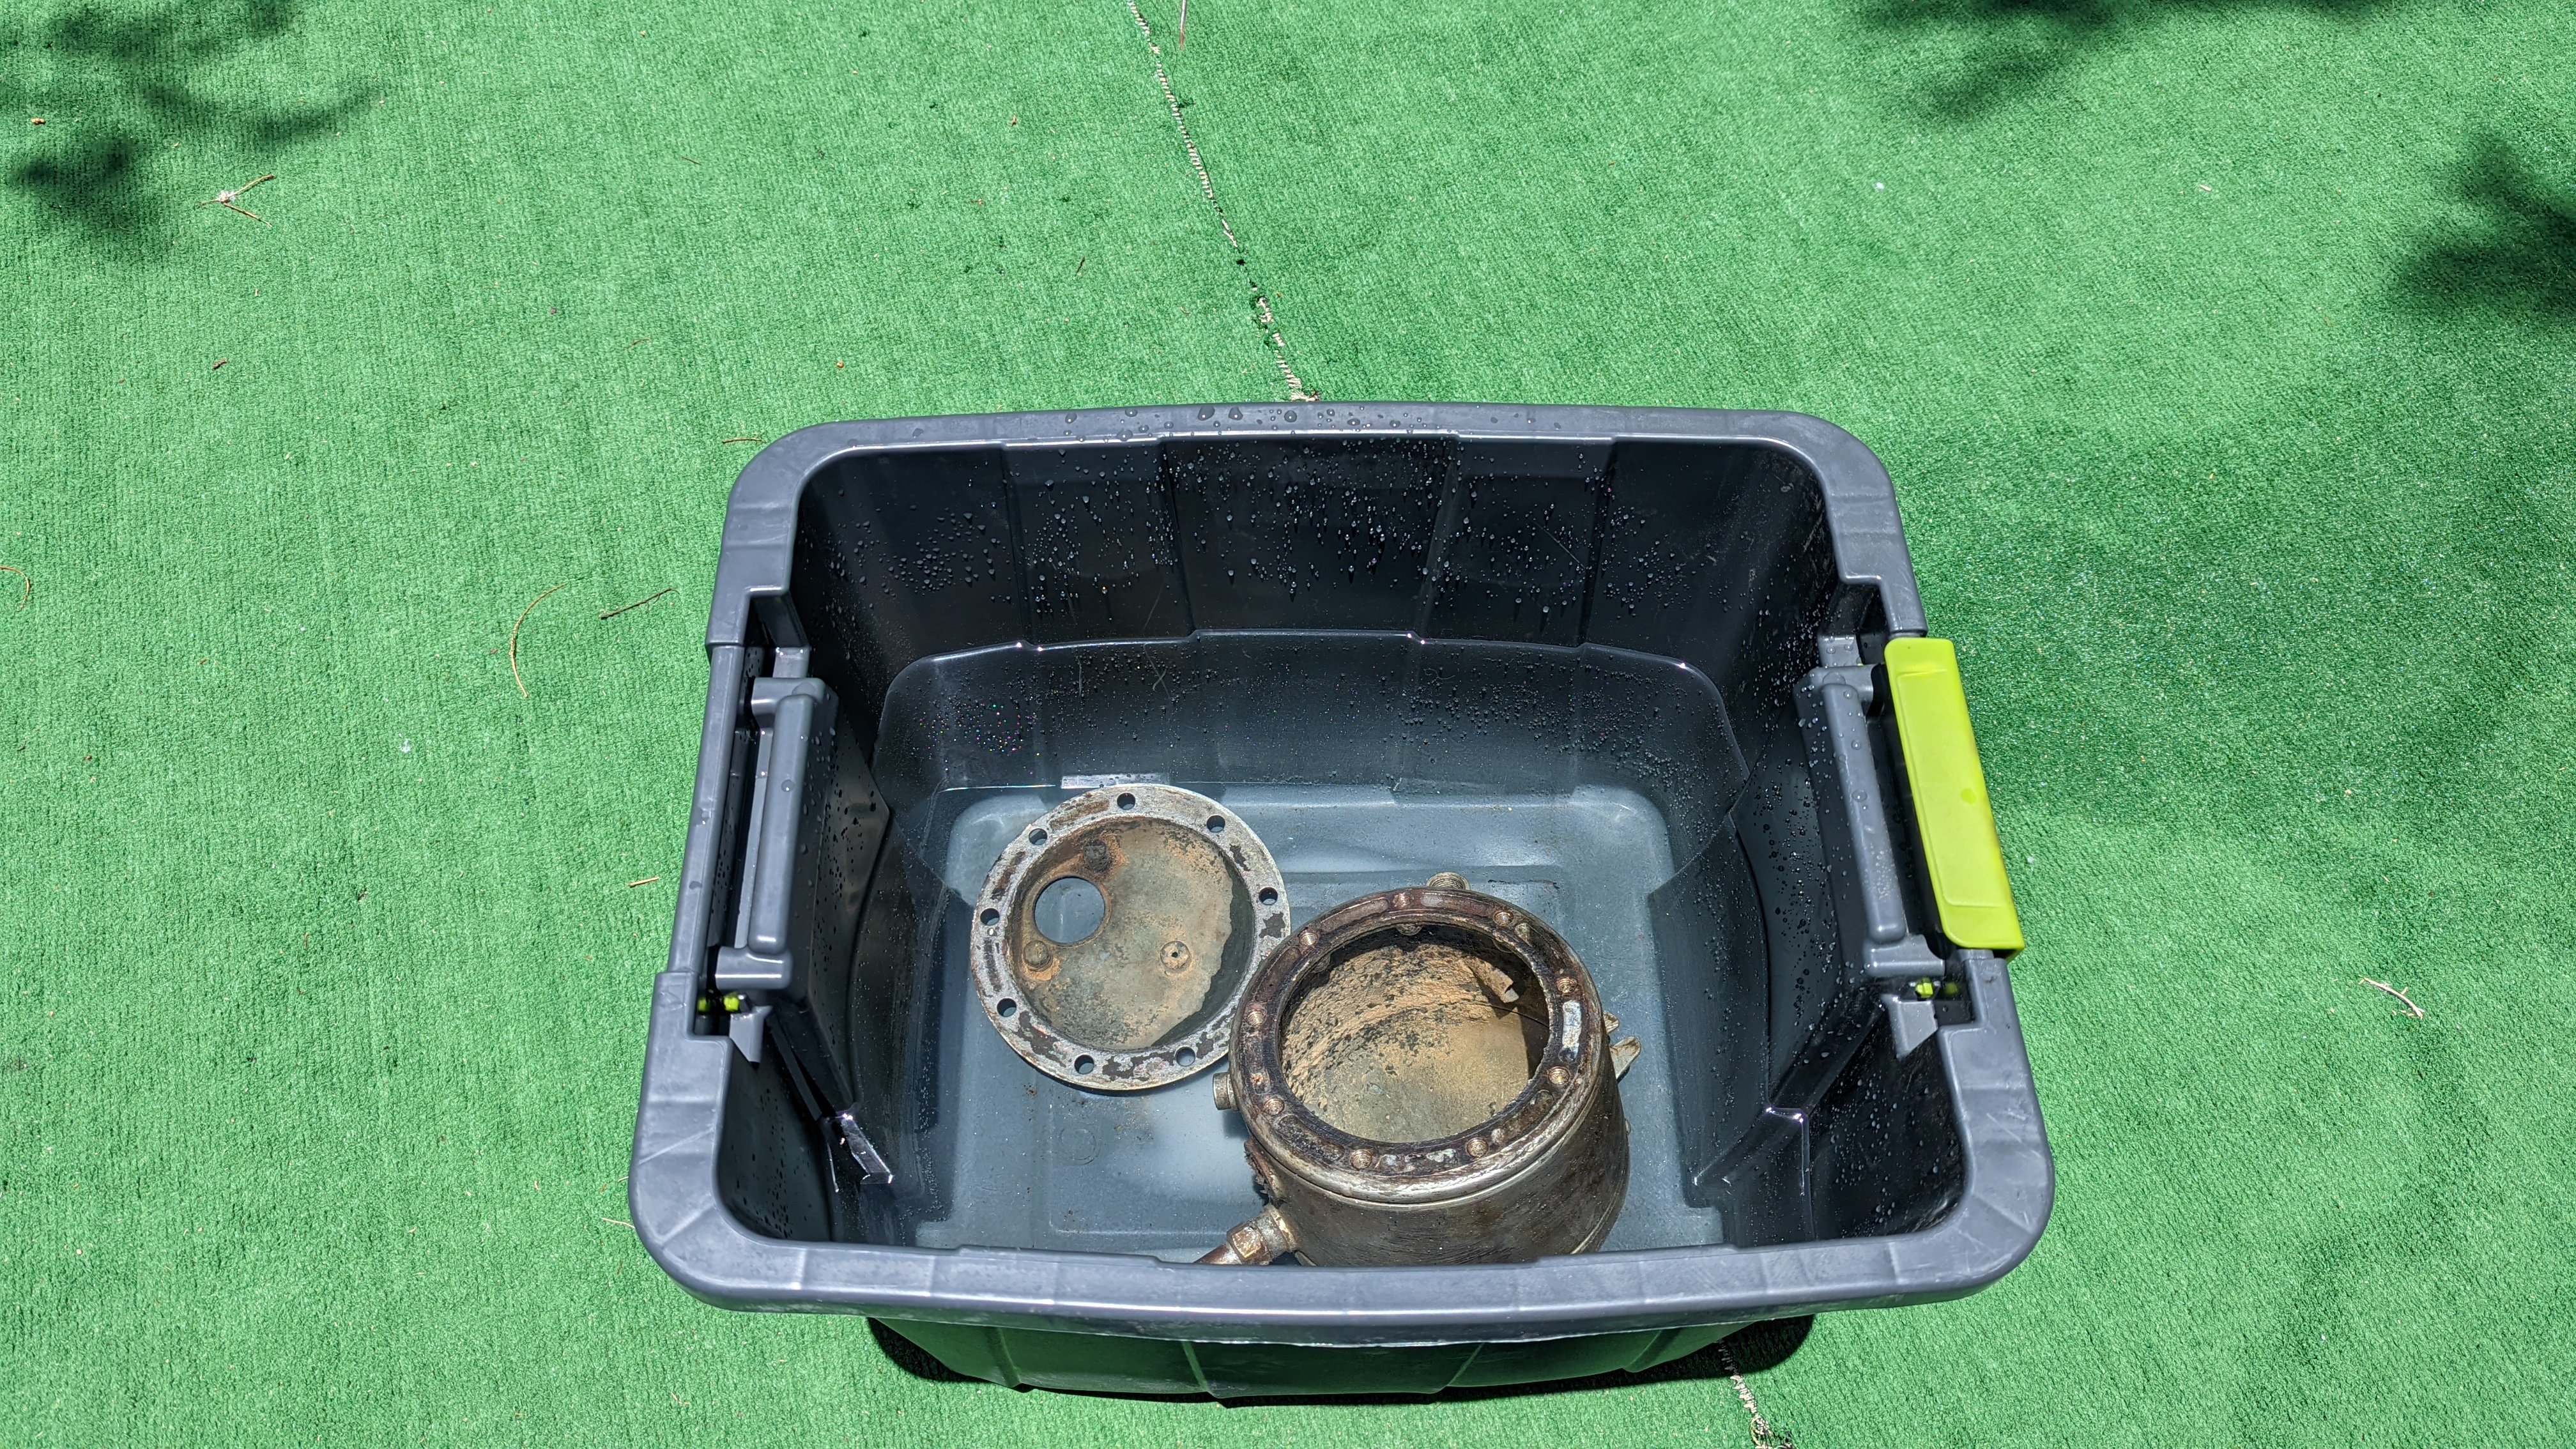

With all the bolts taken care of this cleared the way to begin soaking the boiler in citric acid and cleaning it up. After about 8 hours of soaking, most of the scale was removed. As for the outside of the boiler. The soak started to remove the after-market layer of zinc paint that was on the boiler, and I used some scotch-brite pads to finish it off. I didn’t do much else on the outside – besides a basic cleaning. I think it looks pretty good as-is with the copper body and brass ends and fittings.

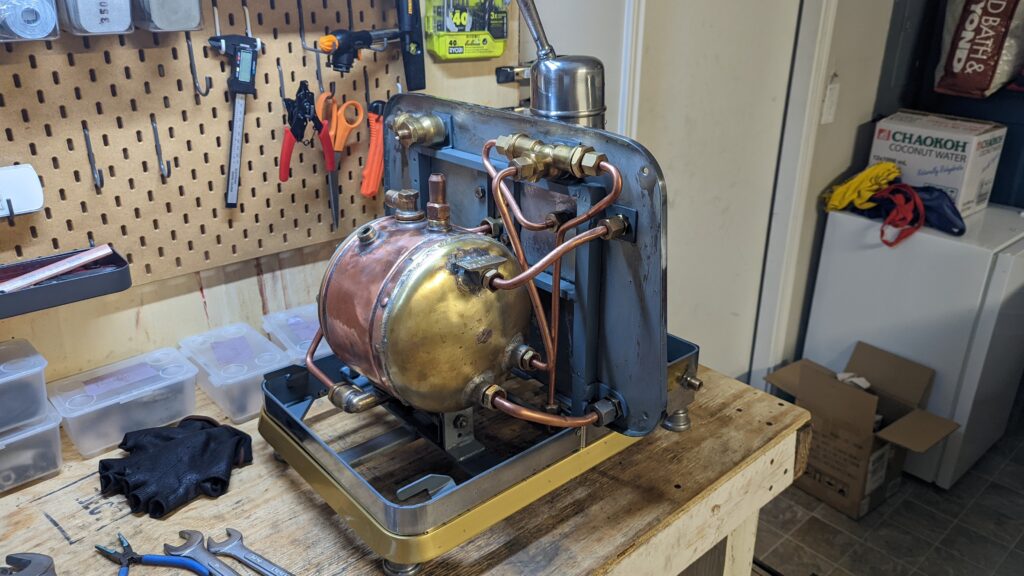
The boiler was reassembled, and installed onto the frame with all of the original copper pipes. I replaced the heating element with a 110v version, and a new gasket.
Leave a Reply