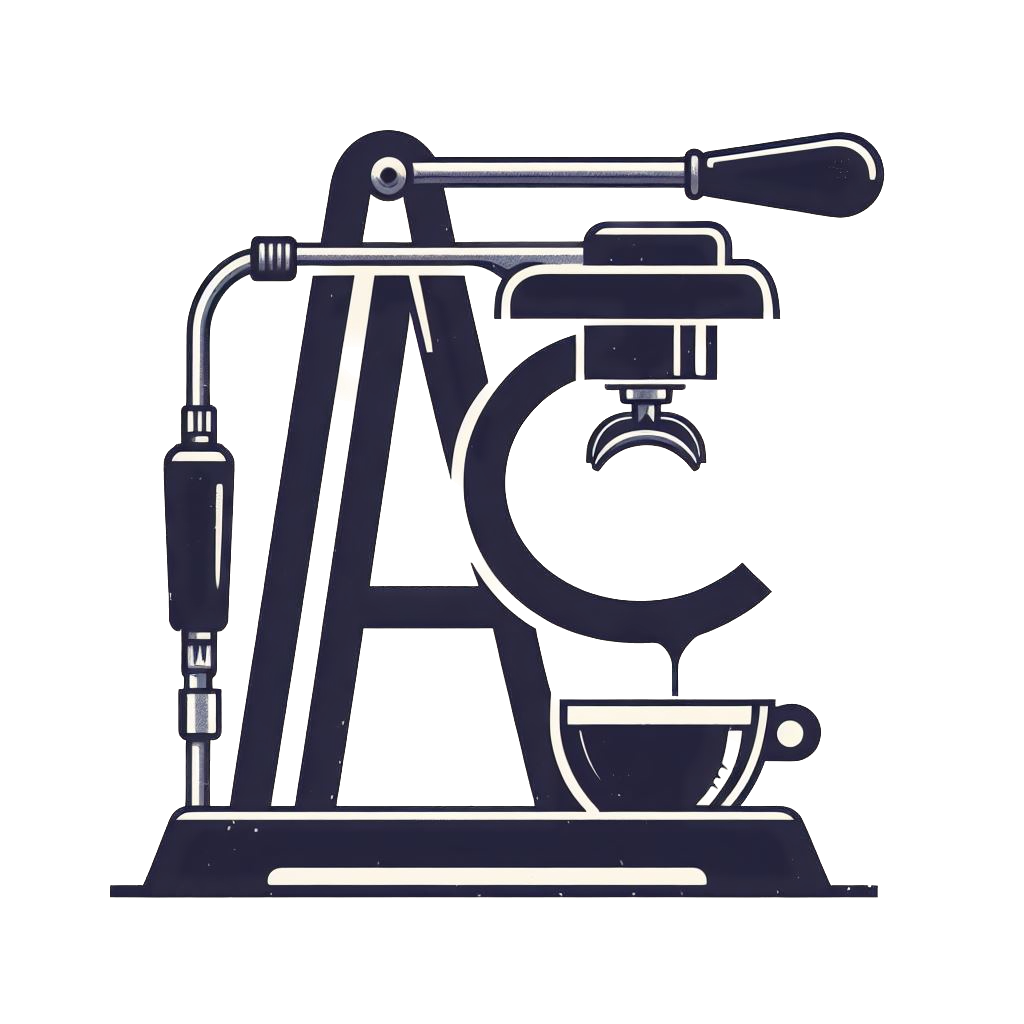
After stripping the machine down to the frame in the previous post the next order of business was to start to disassemble the group to get it cleaned up and replace all the worn parts.
FAEMA First Generation Thermosiphon Group


This Urania came with a first generation thermosiphon group. The thermosiphon group regulated its temperature by circulating hot boiler water though the group head before returning it back into the boiler. Prior to the creation of the thermosiphon, earlier FAEMA lever groups maintained their temperature by steam from the boiler or being saturated directly by the boiler water.

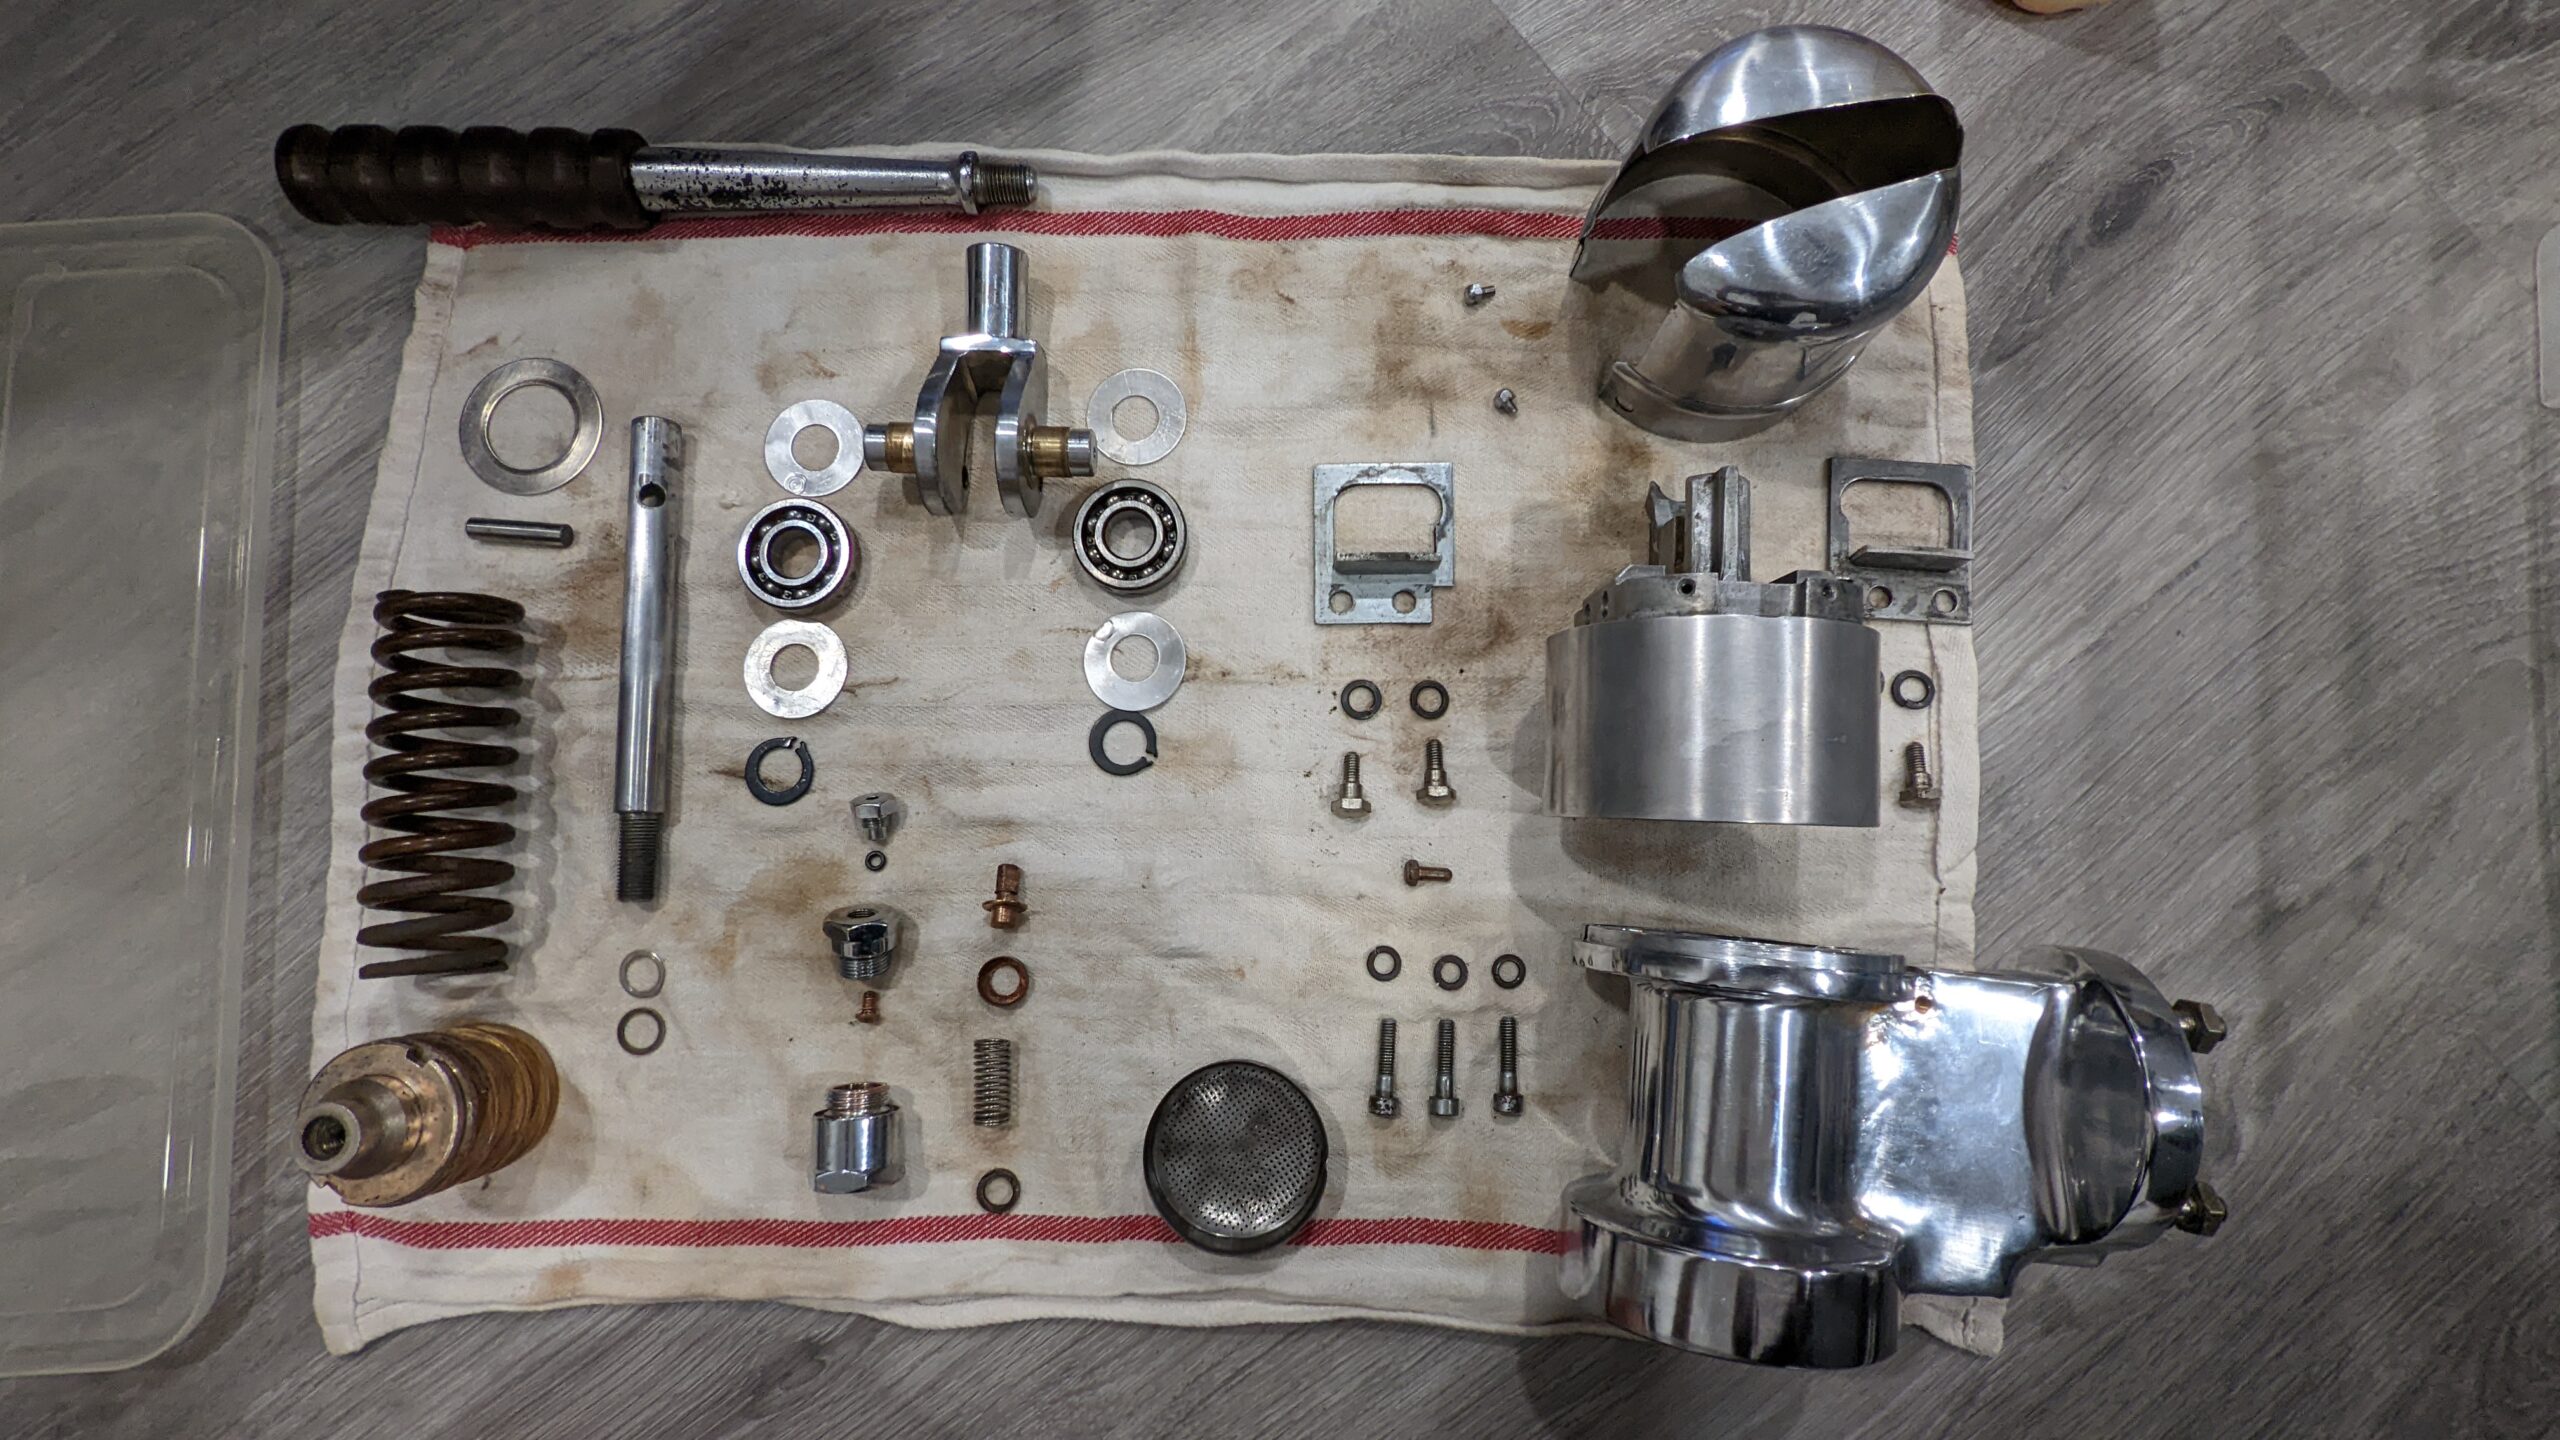
One thing I didn’t realize about these first generation groups in the research I’d done was that they have a piston/plunger rocker mechanism for preinfusion. This mechanism would open to let water into the piston when the lever was pulled down, and close when released. As a result, of this mechanism, there would only be one gasket at the bottom of the piston to push the water out. In the second generation thermosiphon, they eliminated the piston/plunger preinfusion mechanism, and added a 2nd gasket to the top of the piston, which prevents water from flowing out the top when the lever is at rest.

On this Urania, the preinfusion mechanism looked to be missing, but after some disassembly, it looks like there had been a factory workaround sealing the top of the preinfusion mechanism shut, and replacing the piston with a 2 gasket version.
Disassembling the Lever Spring
The spring on this machine has a FAEMA and date stamp. The FAEMA is clearly visible, but the date is a bit worn. I’ve tried my best to make out the date and I’m pretty sure it is “12-57” like the mano. The base of the spring was pretty badly rusted as a result of the top seal failing and allowing water into the top of the piston.

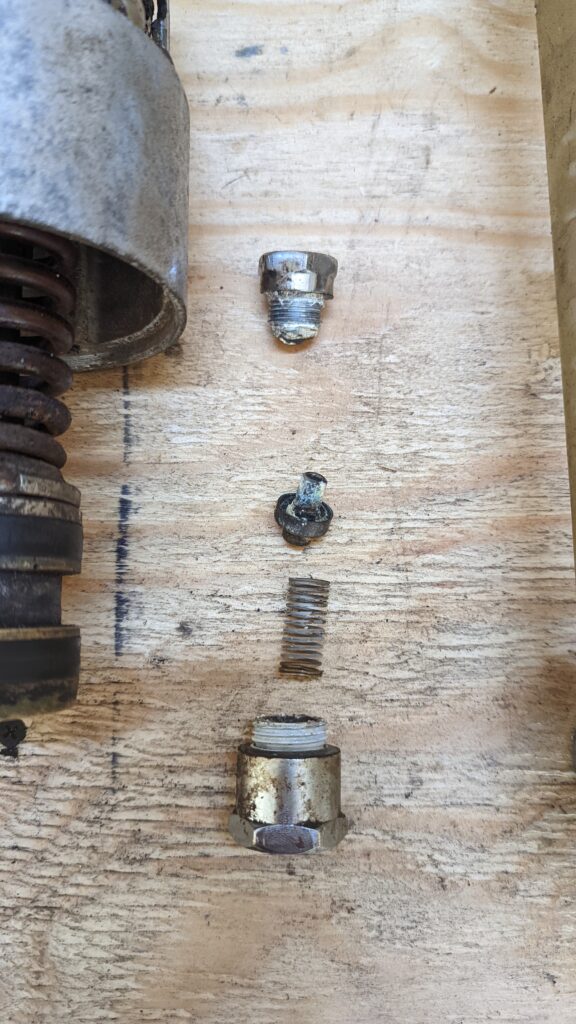
A jig was built to compress the spring enough in order to disassemble the piston.
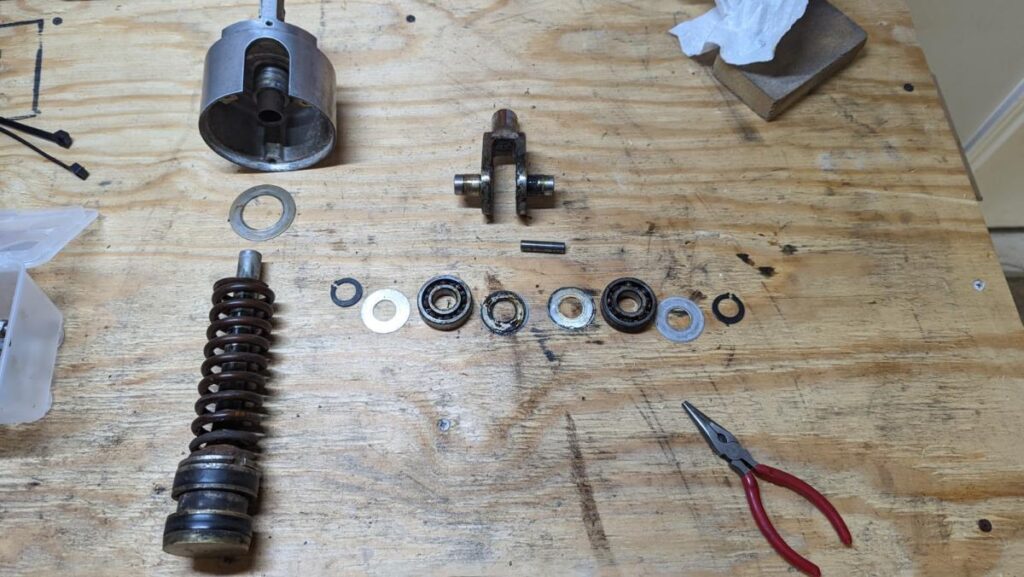
With some compression, the fork lifted off the group and I was able to get a bearing separator in there. It didnt take much to get it apart after that. With the bearings and washers out of the way the pin slid out and it was done. I was finally able to get a good look at the damage on the spring.

Cleanup and Reassembly
With the entire group disassembled, it was just a matter of cleaning everything up and replacing the worn bits. I used an Astoria 130mm spring to replace the rusted original. Besides new gaskets, I replaced the shower screen and kept all of the other original parts (bearings, washers, etc) Also worth noting is that without the preinfusion piston/plunger, the nut at the top of the group was sealed with an M4 brass screw and a o-ring. The bottom part of the preinfusion mechanism had a weak spring and gasket – but it likely could have just been left out altogether.

Leave a Reply