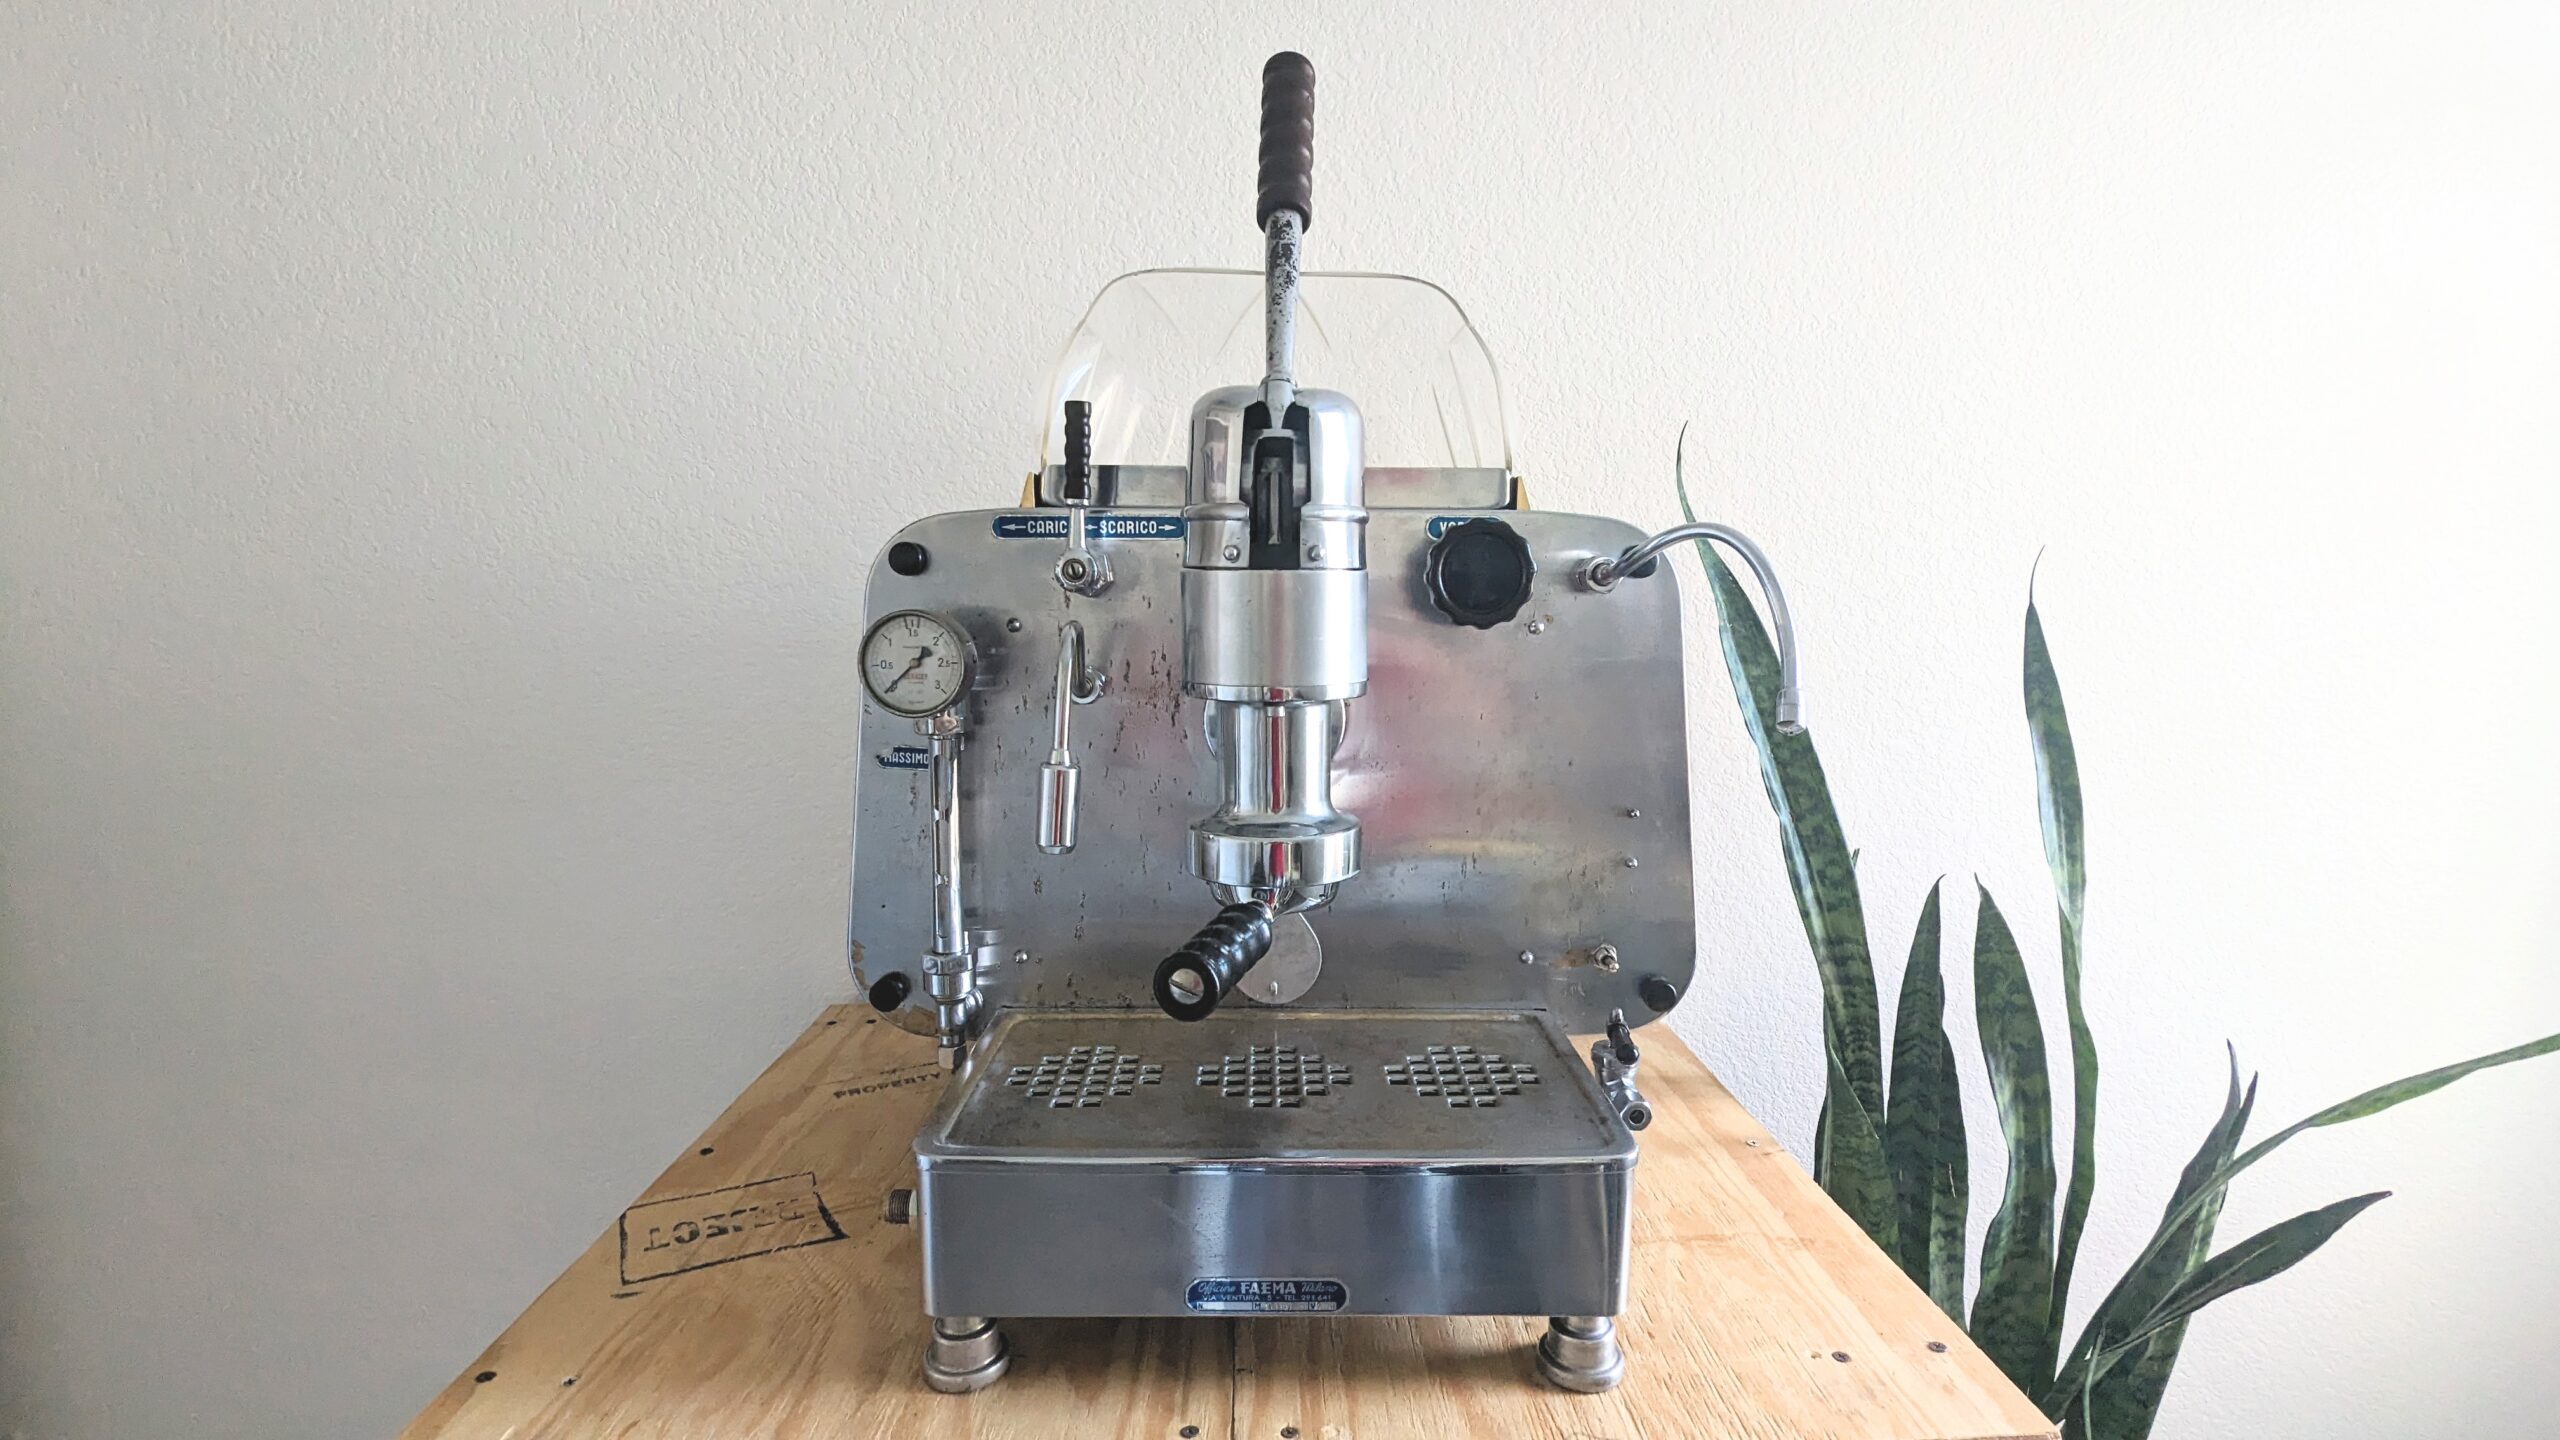
In the first post on this 1957 FAEMA Urania restore, we went over the machine, its main features, and getting it stateside. Once it was in hand, the next order of business was to tear it down to the frame. This is an essential step that sheds light on potential restore issues, and so you can plan out where to start cleaning, sourcing parts, researching, etc.
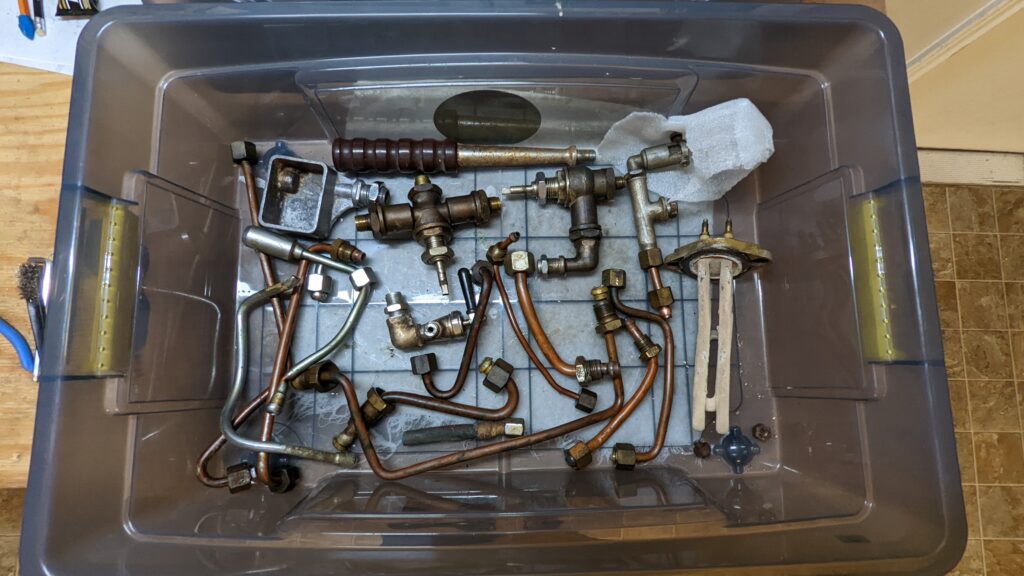
Organization is critical. There will be many nuts, bolts, screws, wires, pipes, panels, valves, fittings and other bits and baubles. Take a lot of pictures, and have a system for storing the parts by category. After a few days you’ll forget where they all came from, so even if you think you know where everything goes just take that extra photo – its free! There will be points later where you find yourself flipping thru photos and zooming in to figure out what went where and how it was oriented.
PSA:
- Get a pair of gloves, safety glasses, and an optional headlamp. There will be sharp edges, and gross nasty parts covered in grease and years of nicotine (they used to smoke in cafes back then).
- Take your time. Parts may be rusty and/or stuck, and rushing or forcing it could end up breaking an irreplaceable part.
Down to business:
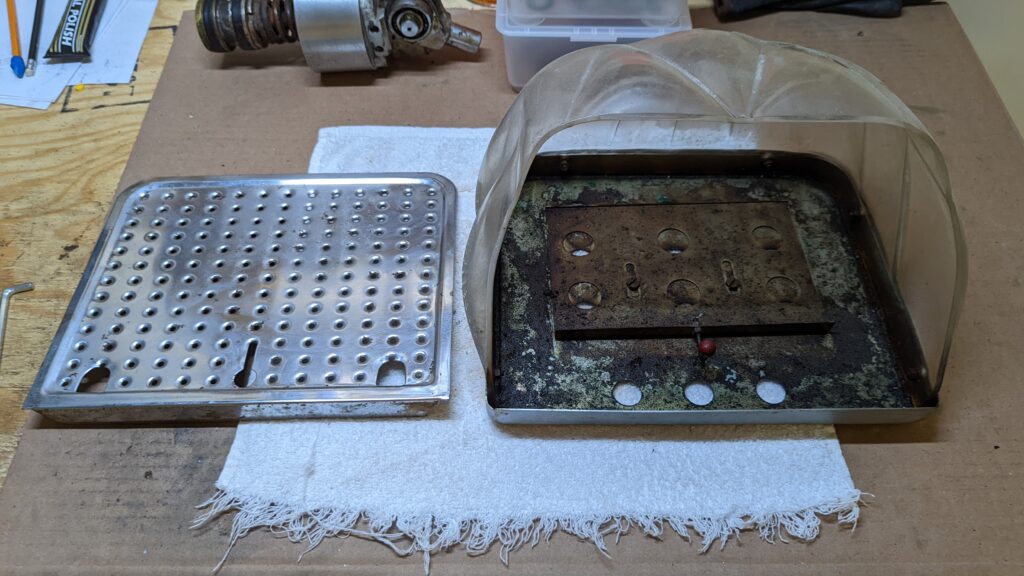
I removed the delicate irreplaceable parts first and put them in bins for safekeeping: the thick front glass held by 4 metal thumbscrews, the neon tube clipped into the retainers, and the cup warmer tray and plexiglass dome which lift right off the main body. With that out of the way, the main body can be pulled off the frame after removing the 4 black plastic thumbscrews on the backsplash.
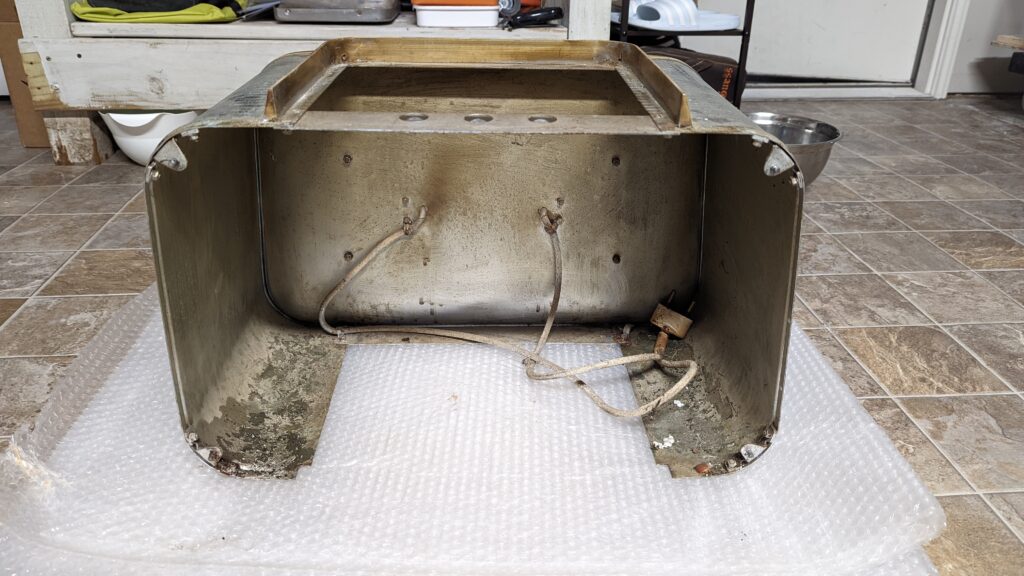

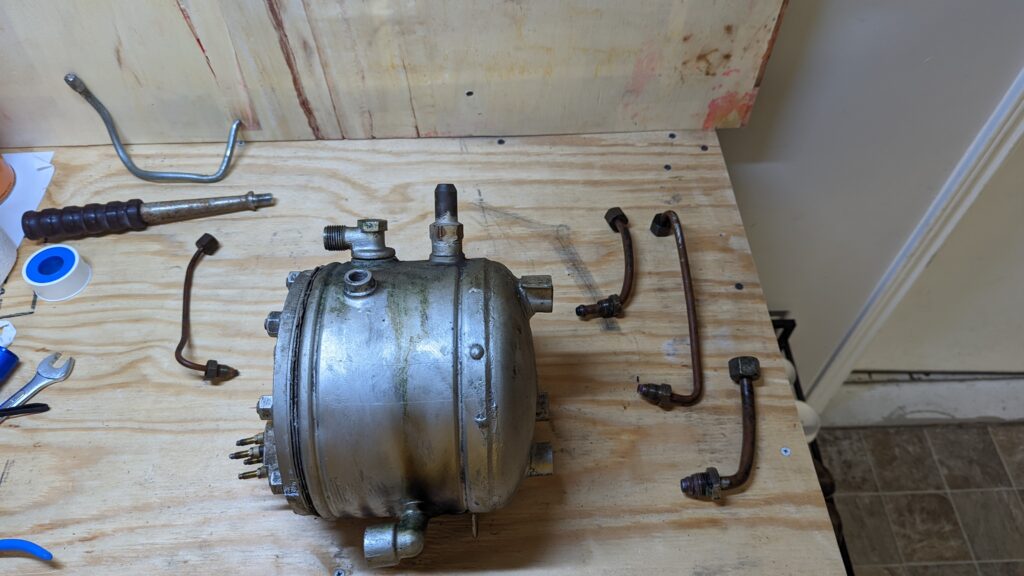
At this point I got a pretty good look at the boiler, pipes, and fittings.

Most fittings and valves came off without too much trouble. The rest of the body panels, drip trays, skirts, and group were removed and set aside. There will be more on all these later. The only casualties were two screws that held the skirts to the frame, and the steam knob cover that I couldn’t figure out how to remove (it just screws off!). I set the boiler off to the side, since I knew opening that was going to be its own project.


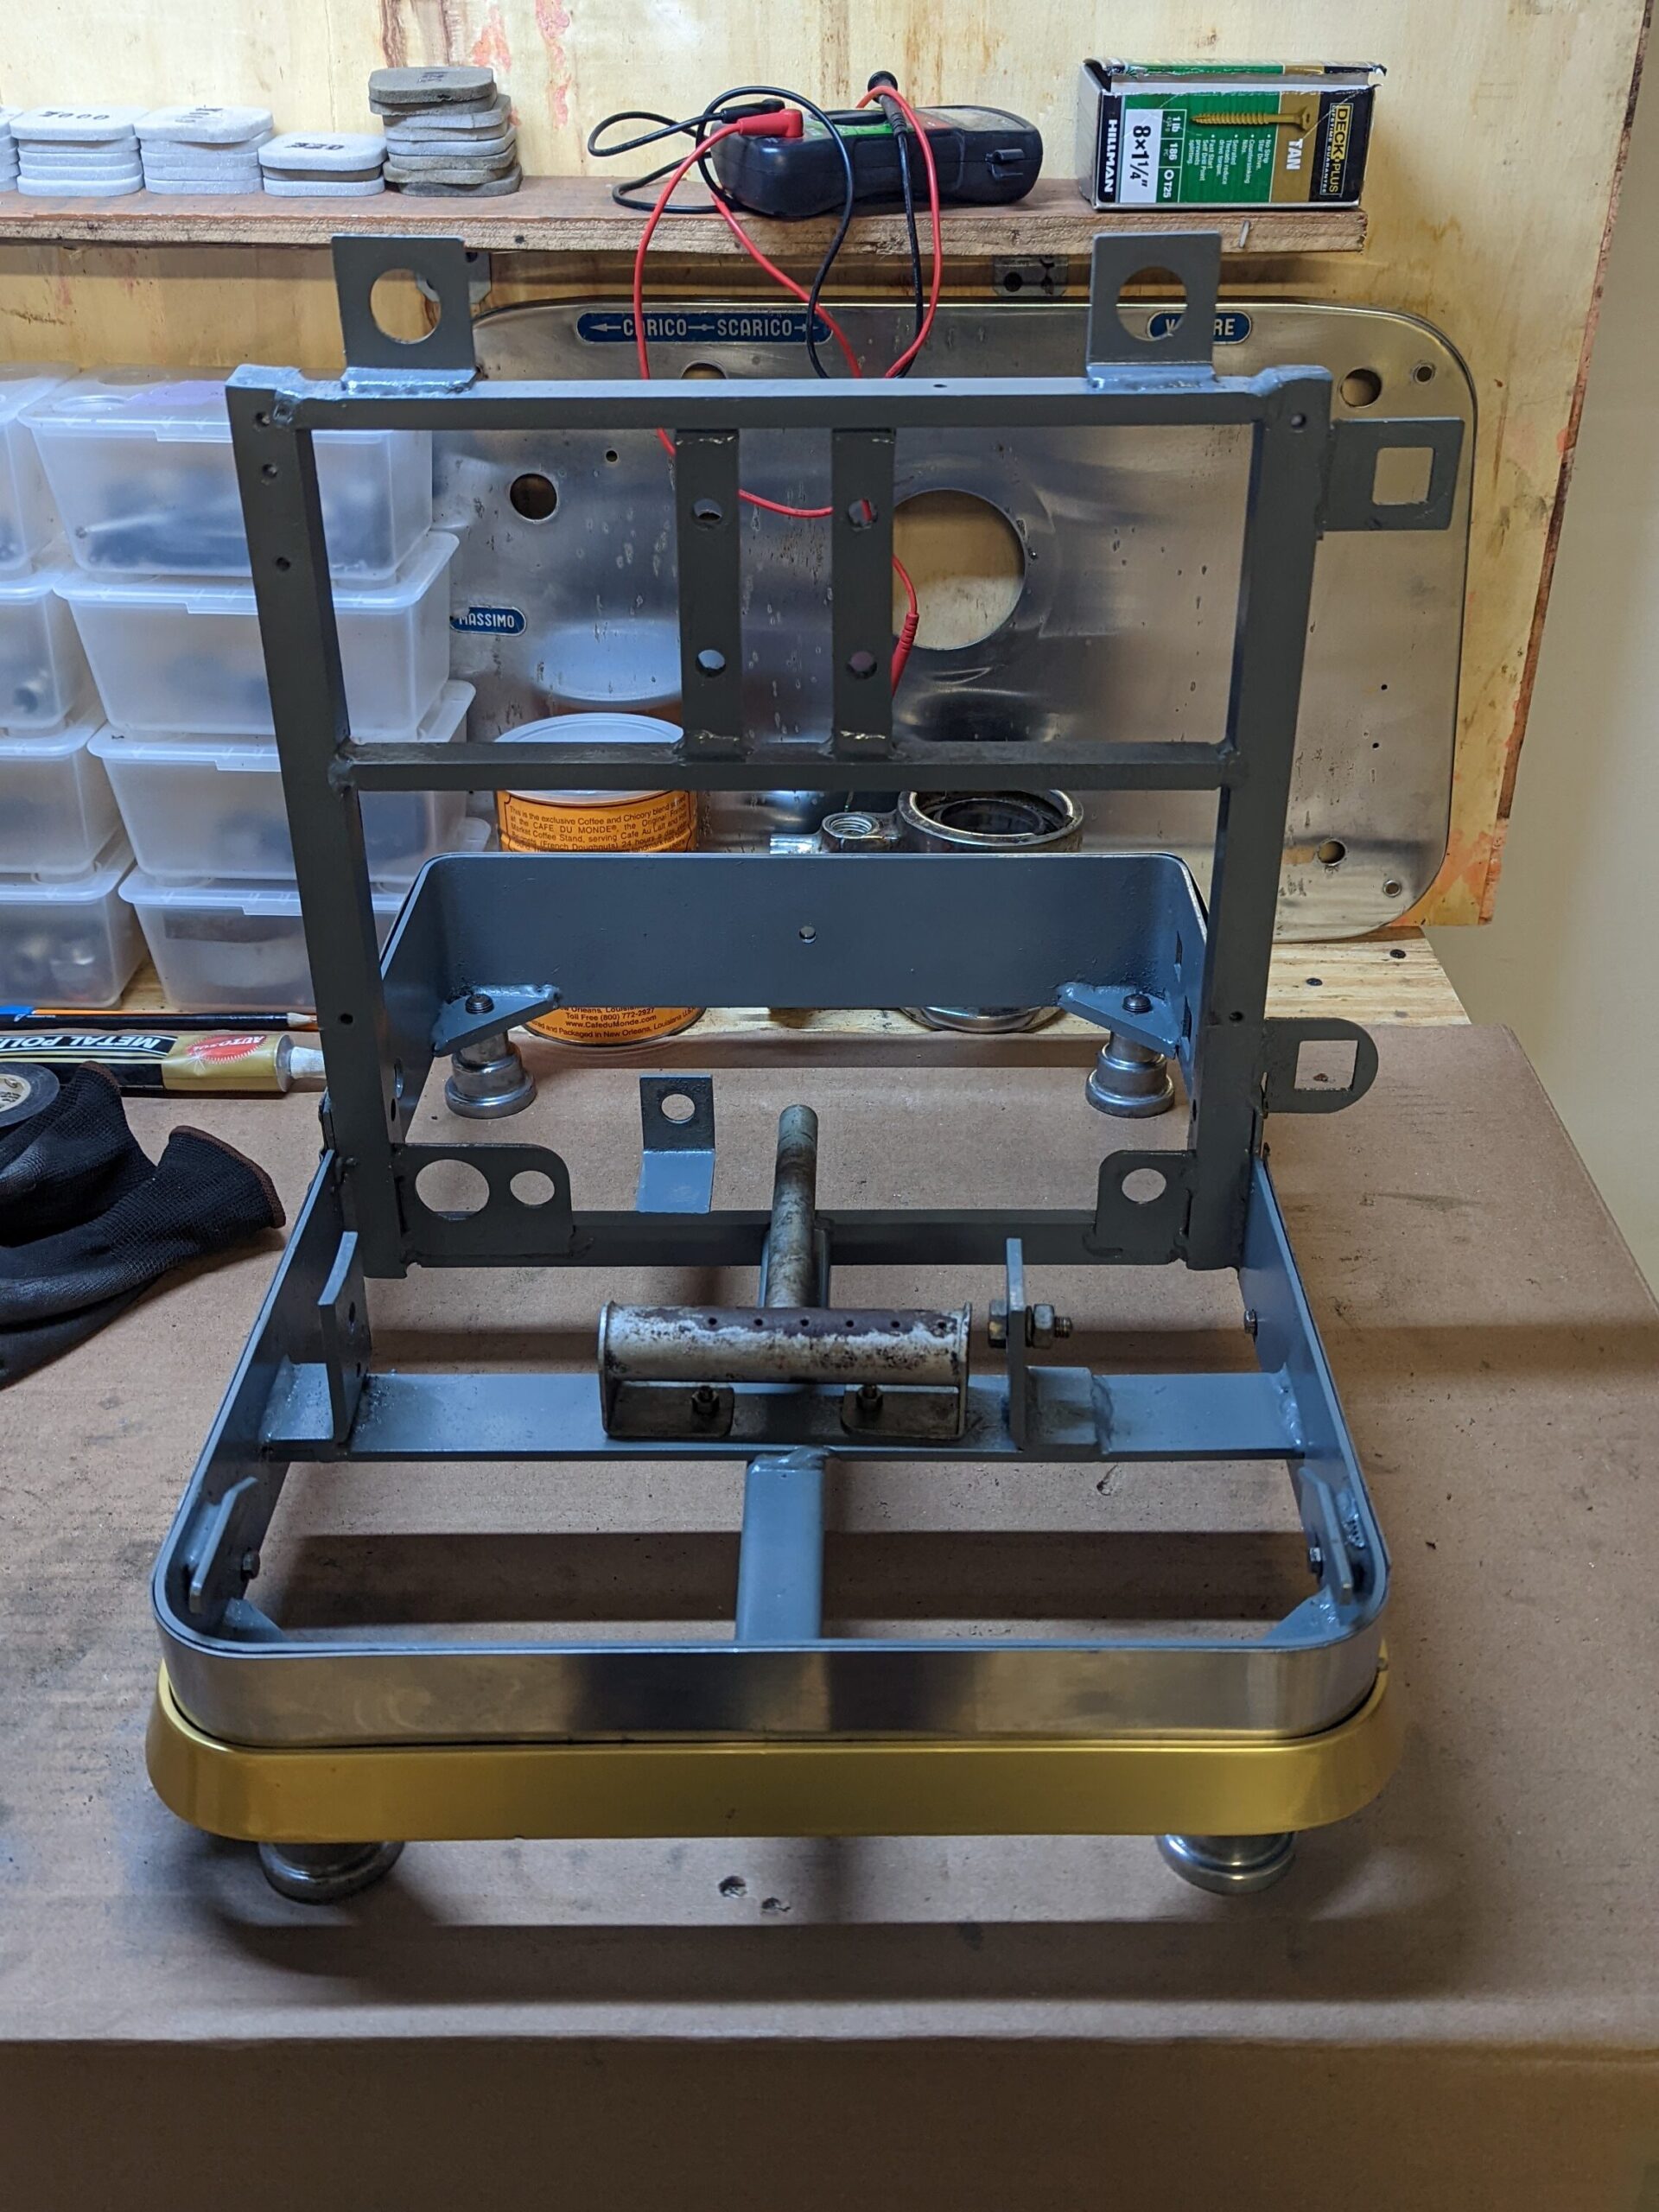
The frame:

The frame wasn’t in terrible shape. There was some rust which was cleaned off, but I didn’t think it needed a powder coating so I gave it a coat with gray rust paint. The skirts and all major body panels were cleaned and polished as much as I could to begin the reassembly.
Leave a Reply