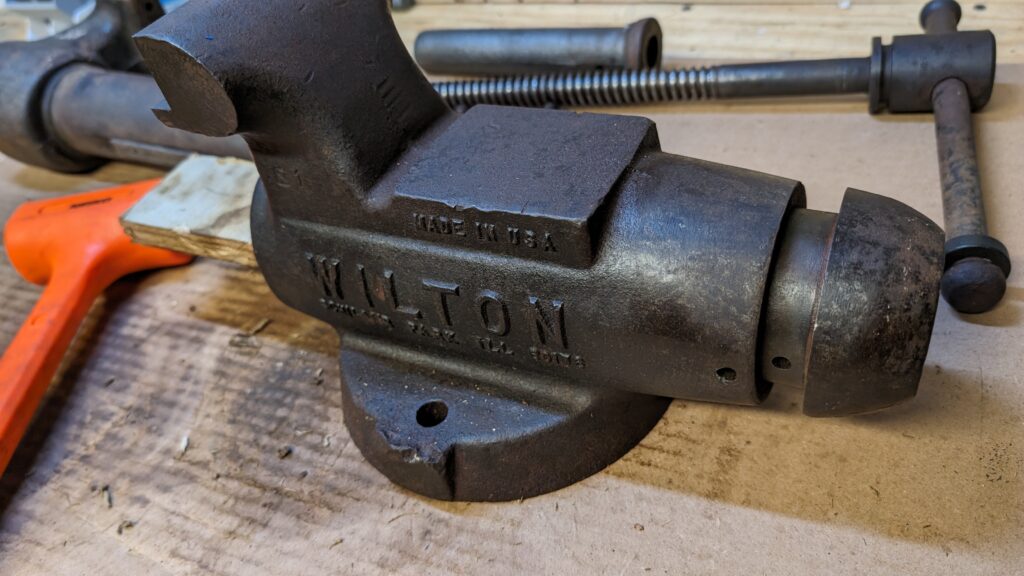
In the prior post, we went over background on the Wilton and the iconic 4″ Machinist Vise I picked up. In this post we’ll go over how I restored it.
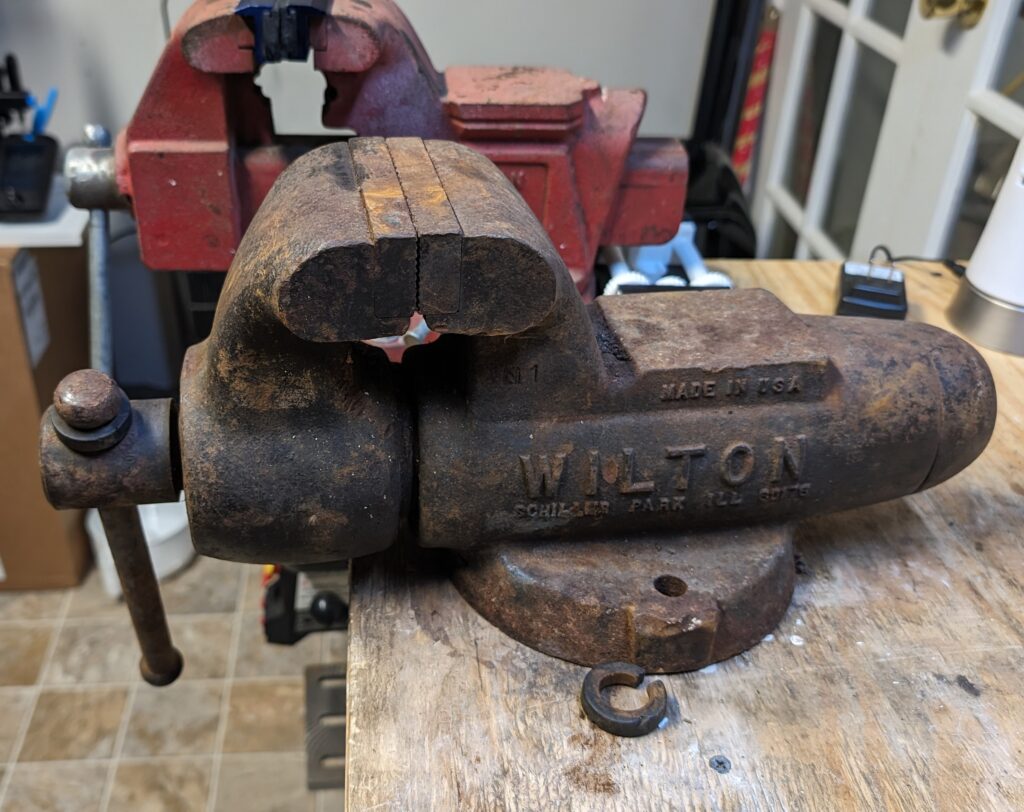

Overall, the vise was in good shape, with unworn jaws, and minimal scarring, and no broken parts. A few things to look for are jaws that line up nicely, the moving parts are not seized, the lettering is crisp, and there are no cracks or major repairs like welded jaws. The end cap and horseshoe washer were missing, but those are easily replaced. Really, the main issue with this vise was that it was covered in rust; it must have been sitting outdoors for a while. There was some pitting from the rust, but nothing too bad.
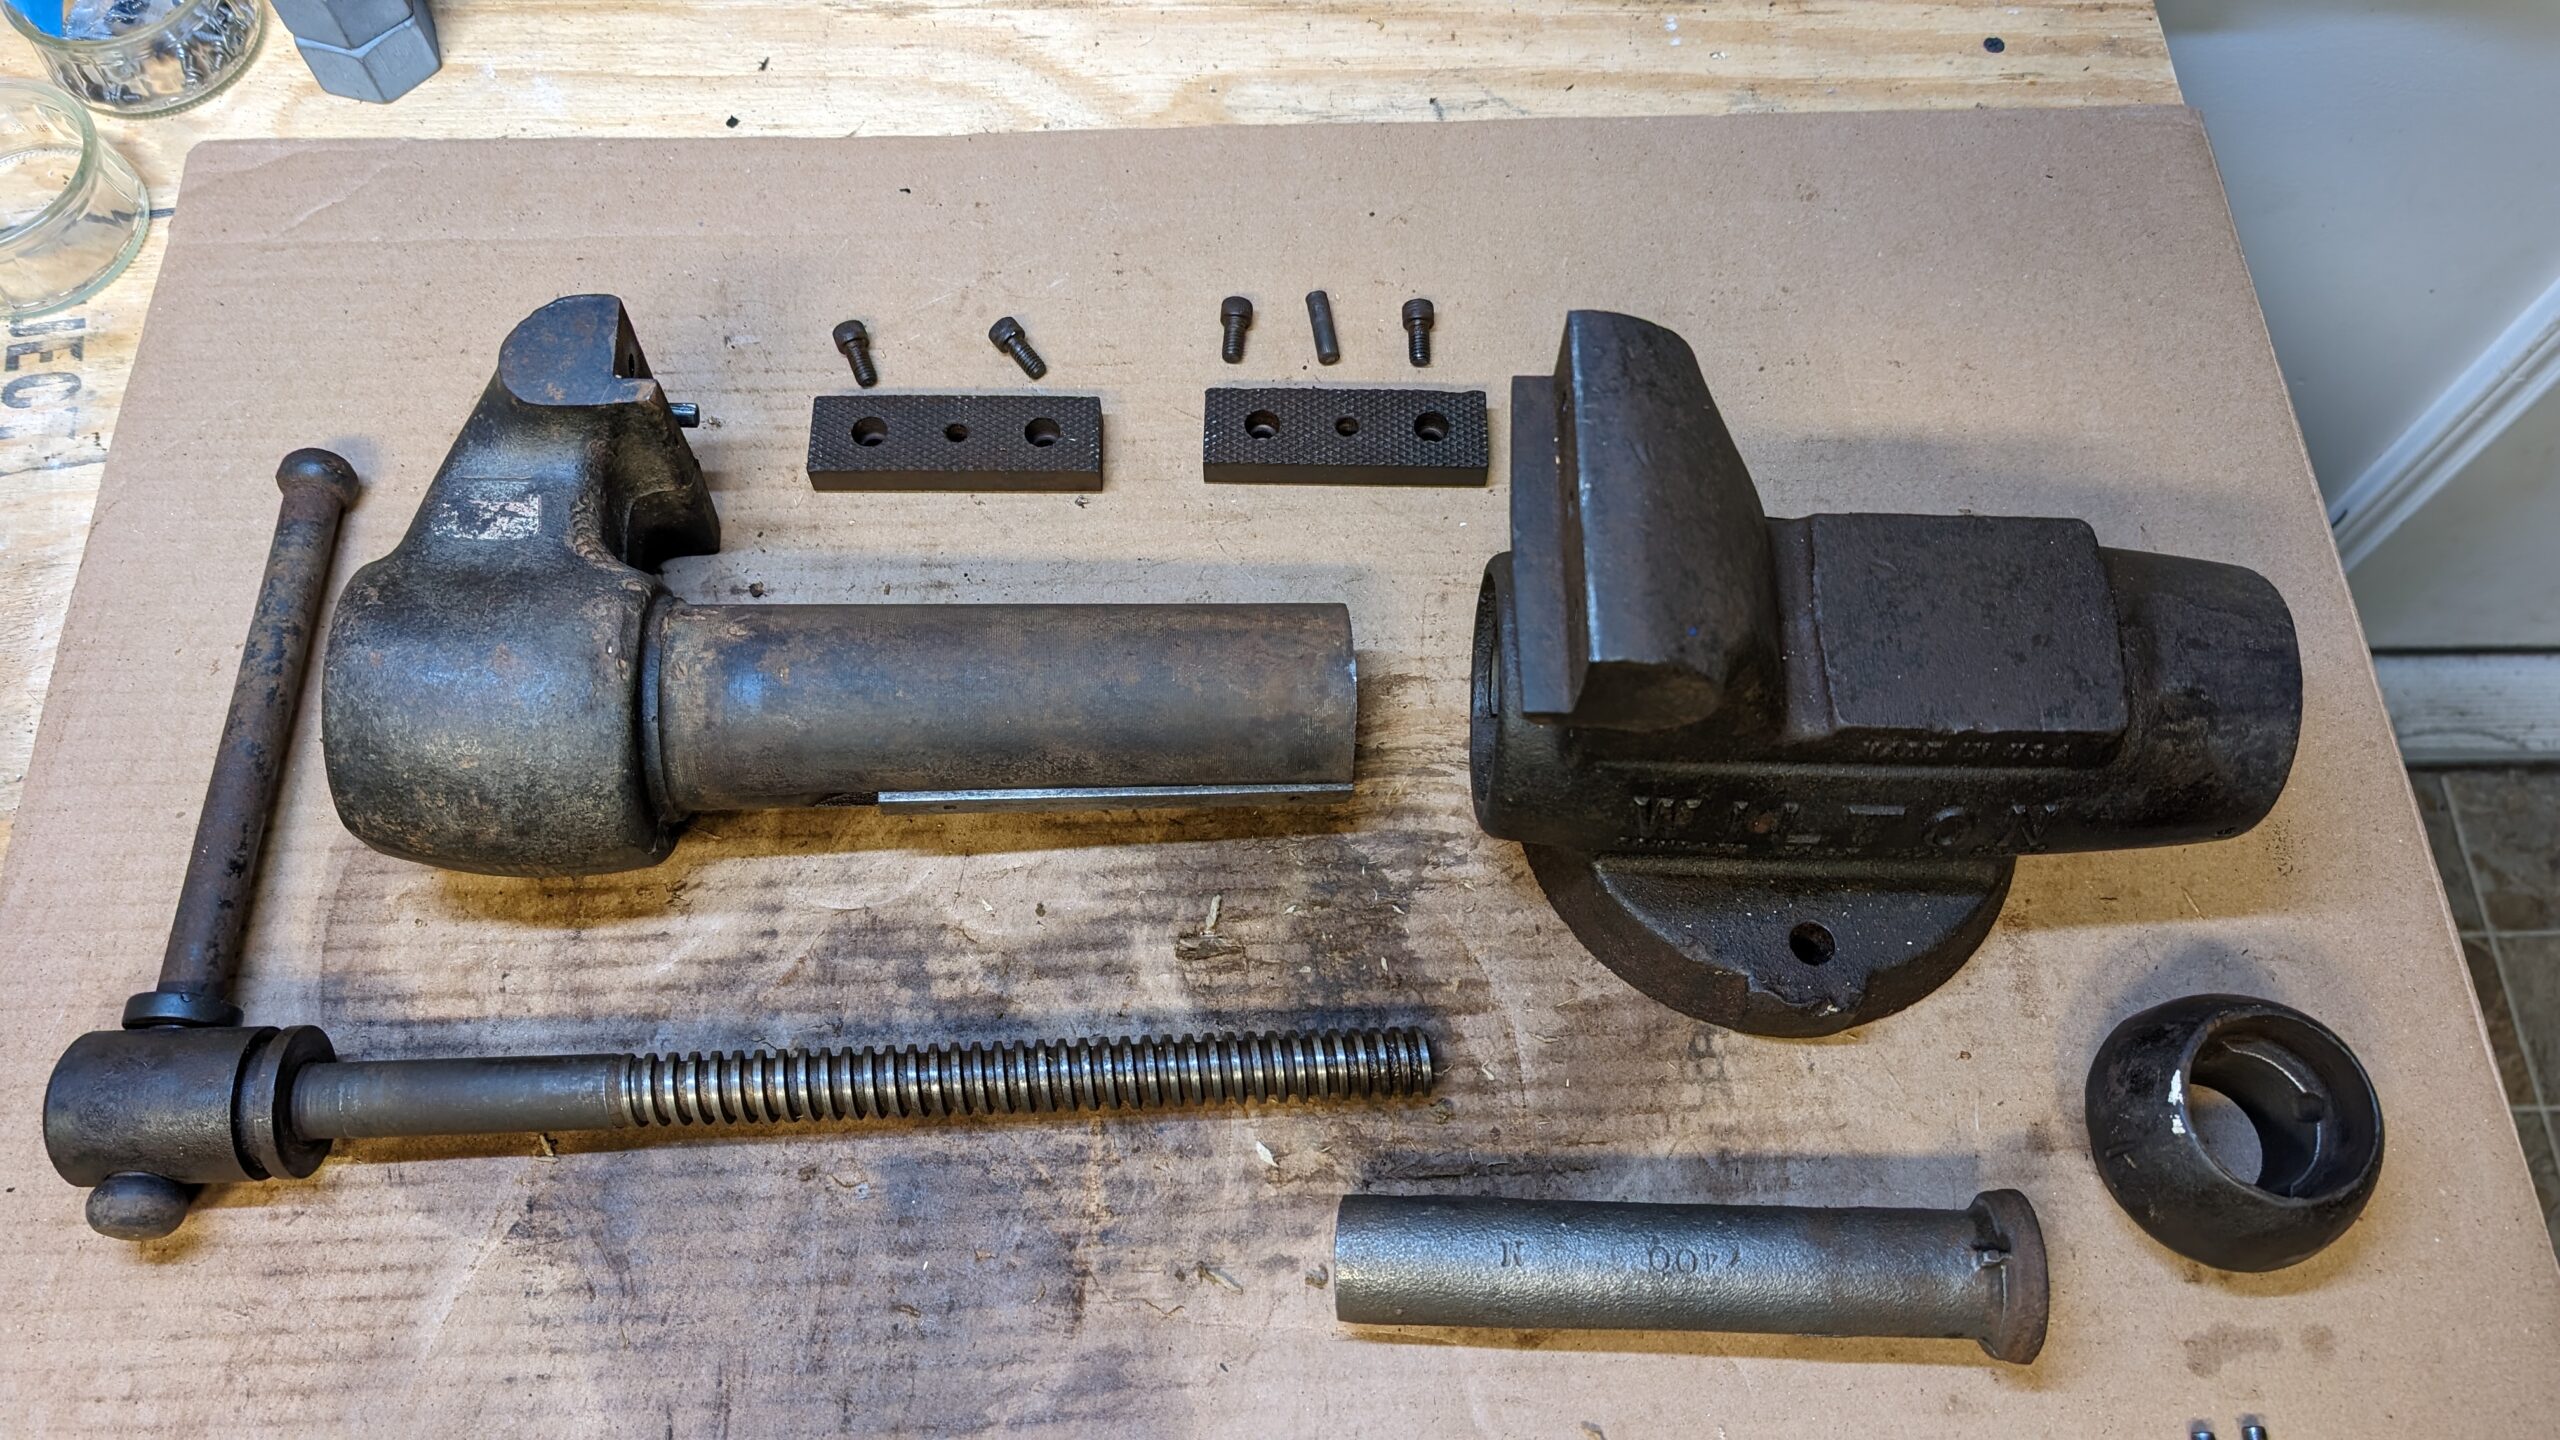
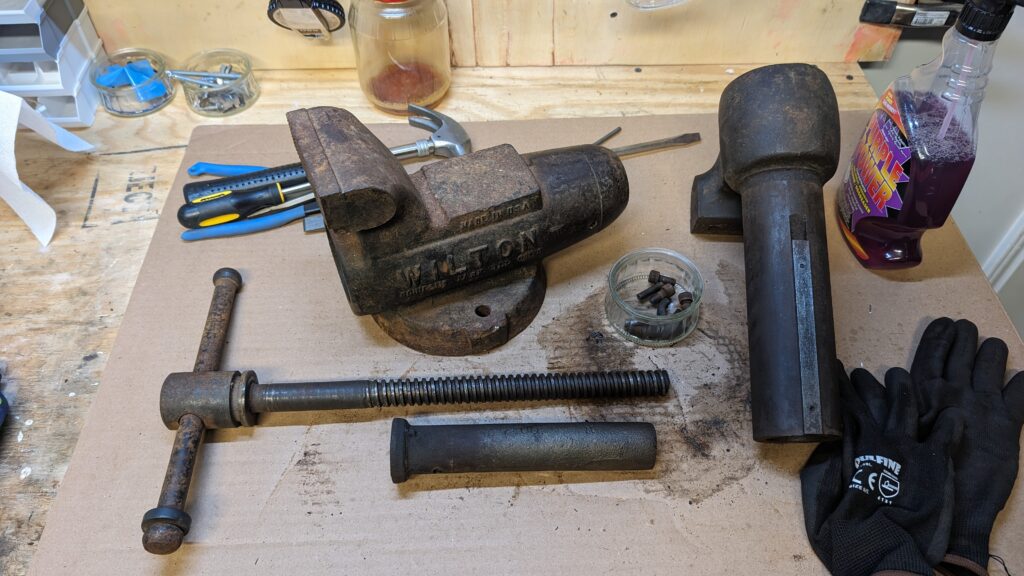
Disassembly:

Unlike an espresso machine, disassembling a Wilton bullet vise is pretty straightforward. I used the following tools: screwdriver, hammer, chisel and punch set, lithium grease, wooden dowel, and scrap blocks of wood. You should also wear gloves, and safety glasses, and have some bins ready to store parts.
Disassembly steps:
- Depending on how rusty or stuck things are, you may need to spray the vise down with WD40 or PB Blaster, or really whatever your preferred penetrating solvent is, and let it sit for a few days
- Open the dynamic jaw until it can be pulled out completely, be ready as this makes up about half the weight of the vase
- Remove the washer screws and horseshoe collar, and pull out the main screw and set aside
- If the dust cap is still there punch it out from the inside with a long dowel
- Next, the nut retaining pins need to be punched out. You’ll need to find them first if they’re under layers of paint, and depending on the model and age, there may be two pins or one long one – it will be obvious when you remove the end cap. This is the hardest step, so take your time.
- Using an appropriately sized punch, drive the pin straight through. If there are two pins, work slowly and make sure the pin you are driving through lines up perfectly to drive out the second pin. Finally, keep driving out the first pin.
- With the pins out, you can pull the vise nut out the back. If it is jammed, use a hammer and a scrap piece of wood to drive it from the front
- Then remove the nut housing using an appropriately sized block of wood and a hammer to drive it out from the front.
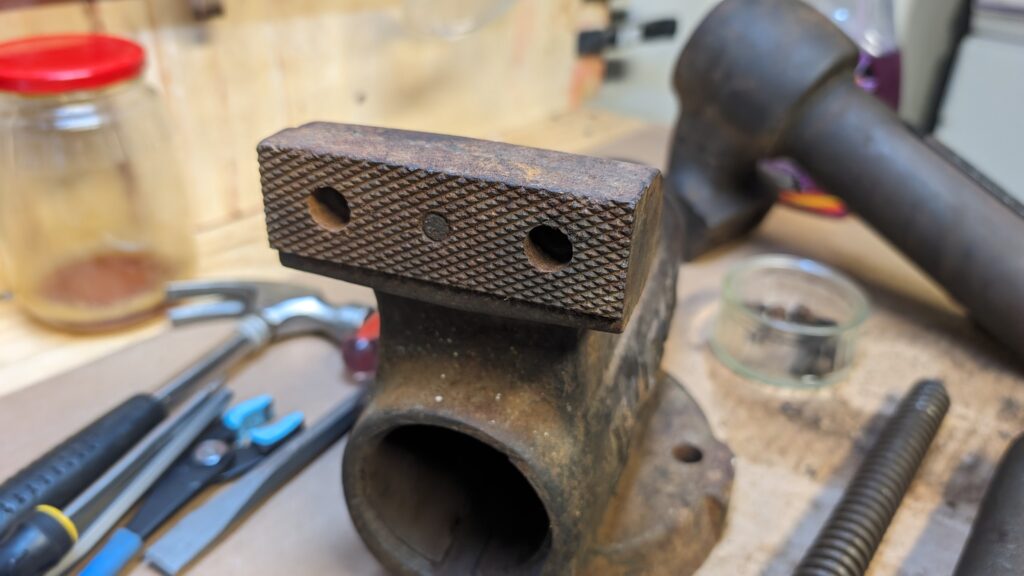
- Removing the jaw faces can also be a challenging depending on the condition, and especially if there is a center pin, which mine had.
- Remove the jaw face screws. If the screws are in good condition, an impact driver should work. If not you may need to drill them out.
- I used a chisel to loosen the jaw face from the jaw shelf, working across the width of the face to ensure its sliding out uniformly. Once I could open enough space, I tapped in a wide wooden shim in to wedge the face out the rest of the way.
- The slide is removable by driving out the two pins. I had read that unless there are issues with it, it should be left alone, which is what I did.
- The handles are also removable, but it requires heating up the right knob to red hot, and hammering it out. This requires some advanced skills, and I would only do it if necessary.

Cleaning:

With everything disassembled, you can inspect all the parts to ensure no cracks or need for repairs. The only issue with my vise was rust, and I used electrolysis to clean it up. You can read all about how to do that here.
Rust removal and polishing took me about 3 weeks, since I did one part at a time. I’ll outline the process I followed:
- Clean off surface dirt with a pressure washer
- Drop the part in the electrolysis tank. The largest parts spent up to 4 days in the tank.
- Once out of the tank, hit the part with the pressure washer to remove most of the black oxide
- Polish with the Scotch-Brite radial bristle brush on my buffer
- Wipe down with boiled linseed oil
- Dry for up to 4 days
- You can paint over the BLO coating, but I wanted to keep mine natural
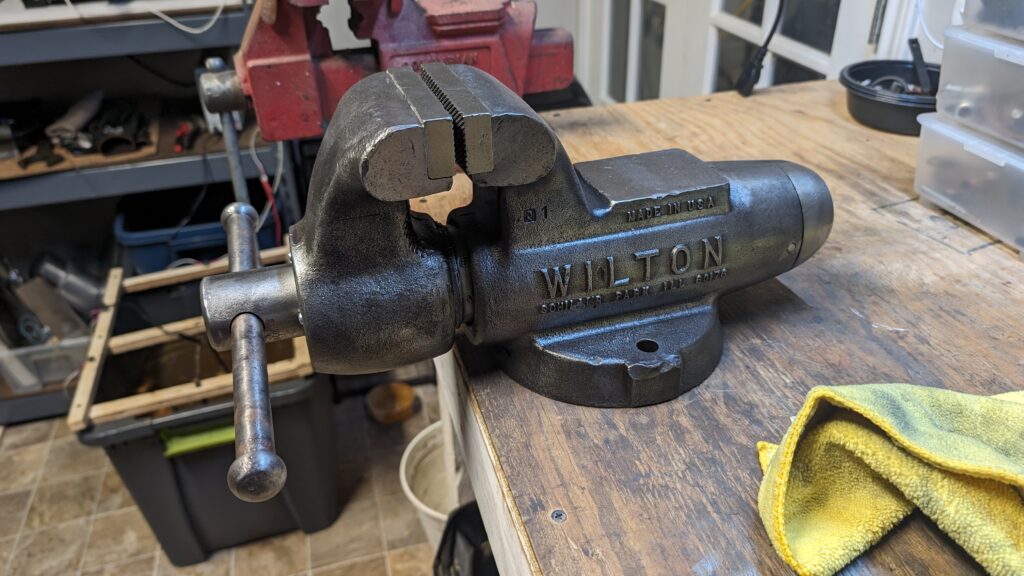
Reassembly
This is the easiest and most satisfying part of the restore.


- Lying the fixed jaw on its front (so the tail is up in air) drop the vise nut in checking the orientation of the holes so they all line up, gravity helps here.
- Using a wooden block tap the nut housing in with a hammer. Again, make sure the holes line up and go slowly.
- Drive the first pin in using a piece of wood. I pushed a punch thru the second hole to keep everything lined up while I drove in the first pin.
- Pull out the punch and drive the second pin in.
- Place the fixed jaw on its base, and screw in the jaw face. I used lithium grease on the threads.
- Screw the jaw face on the dynamic jaw.
- Slide the dynamic jaw into the fixed jaw. Use lithium grease on the slide.
- Insert the main screw and tighten. Use lithium grease on the screw.
- Insert the horseshoe washer and screws.
Leave a Reply